Please note that the contents of this website are mine personally and do not reflect any position of the U.S. Government or the Peace Corps.
Note: A full photo gallery can be found on Facebook.
As just about anyone in Peace Corps who’s spent more than 30 minutes talking to me could tell you, one of the things I’ve wanted to do since day one is put together an engineering camp. Teaching English is important, but I feel that the countries we go into also need to advance in the STEM fields to really prosper. Georgia especially has a lot of students wanting to be lawyers or businessmen, but not many going into STEM. Engineers are essential to business and the prosperity of any country. You need people who can design and build new things.
At my site placement interview during pre-service training I was asked what sort of a site I wanted, and all I asked for was science teachers who would work with me. None of the schools put that down. It’s just not something that’s asked. So I got a school that was looking for someone really creative, and I happened to luck out.
This summer, with the support of my school director, the help of my teaching counterparts and science teachers, and urging and aid from Tamuna and Guliko at the Peace Corps office in Tbilisi we secured a time and place, and I finally did it. 29 August 2016 through 2 September 2016 was METS Camp!
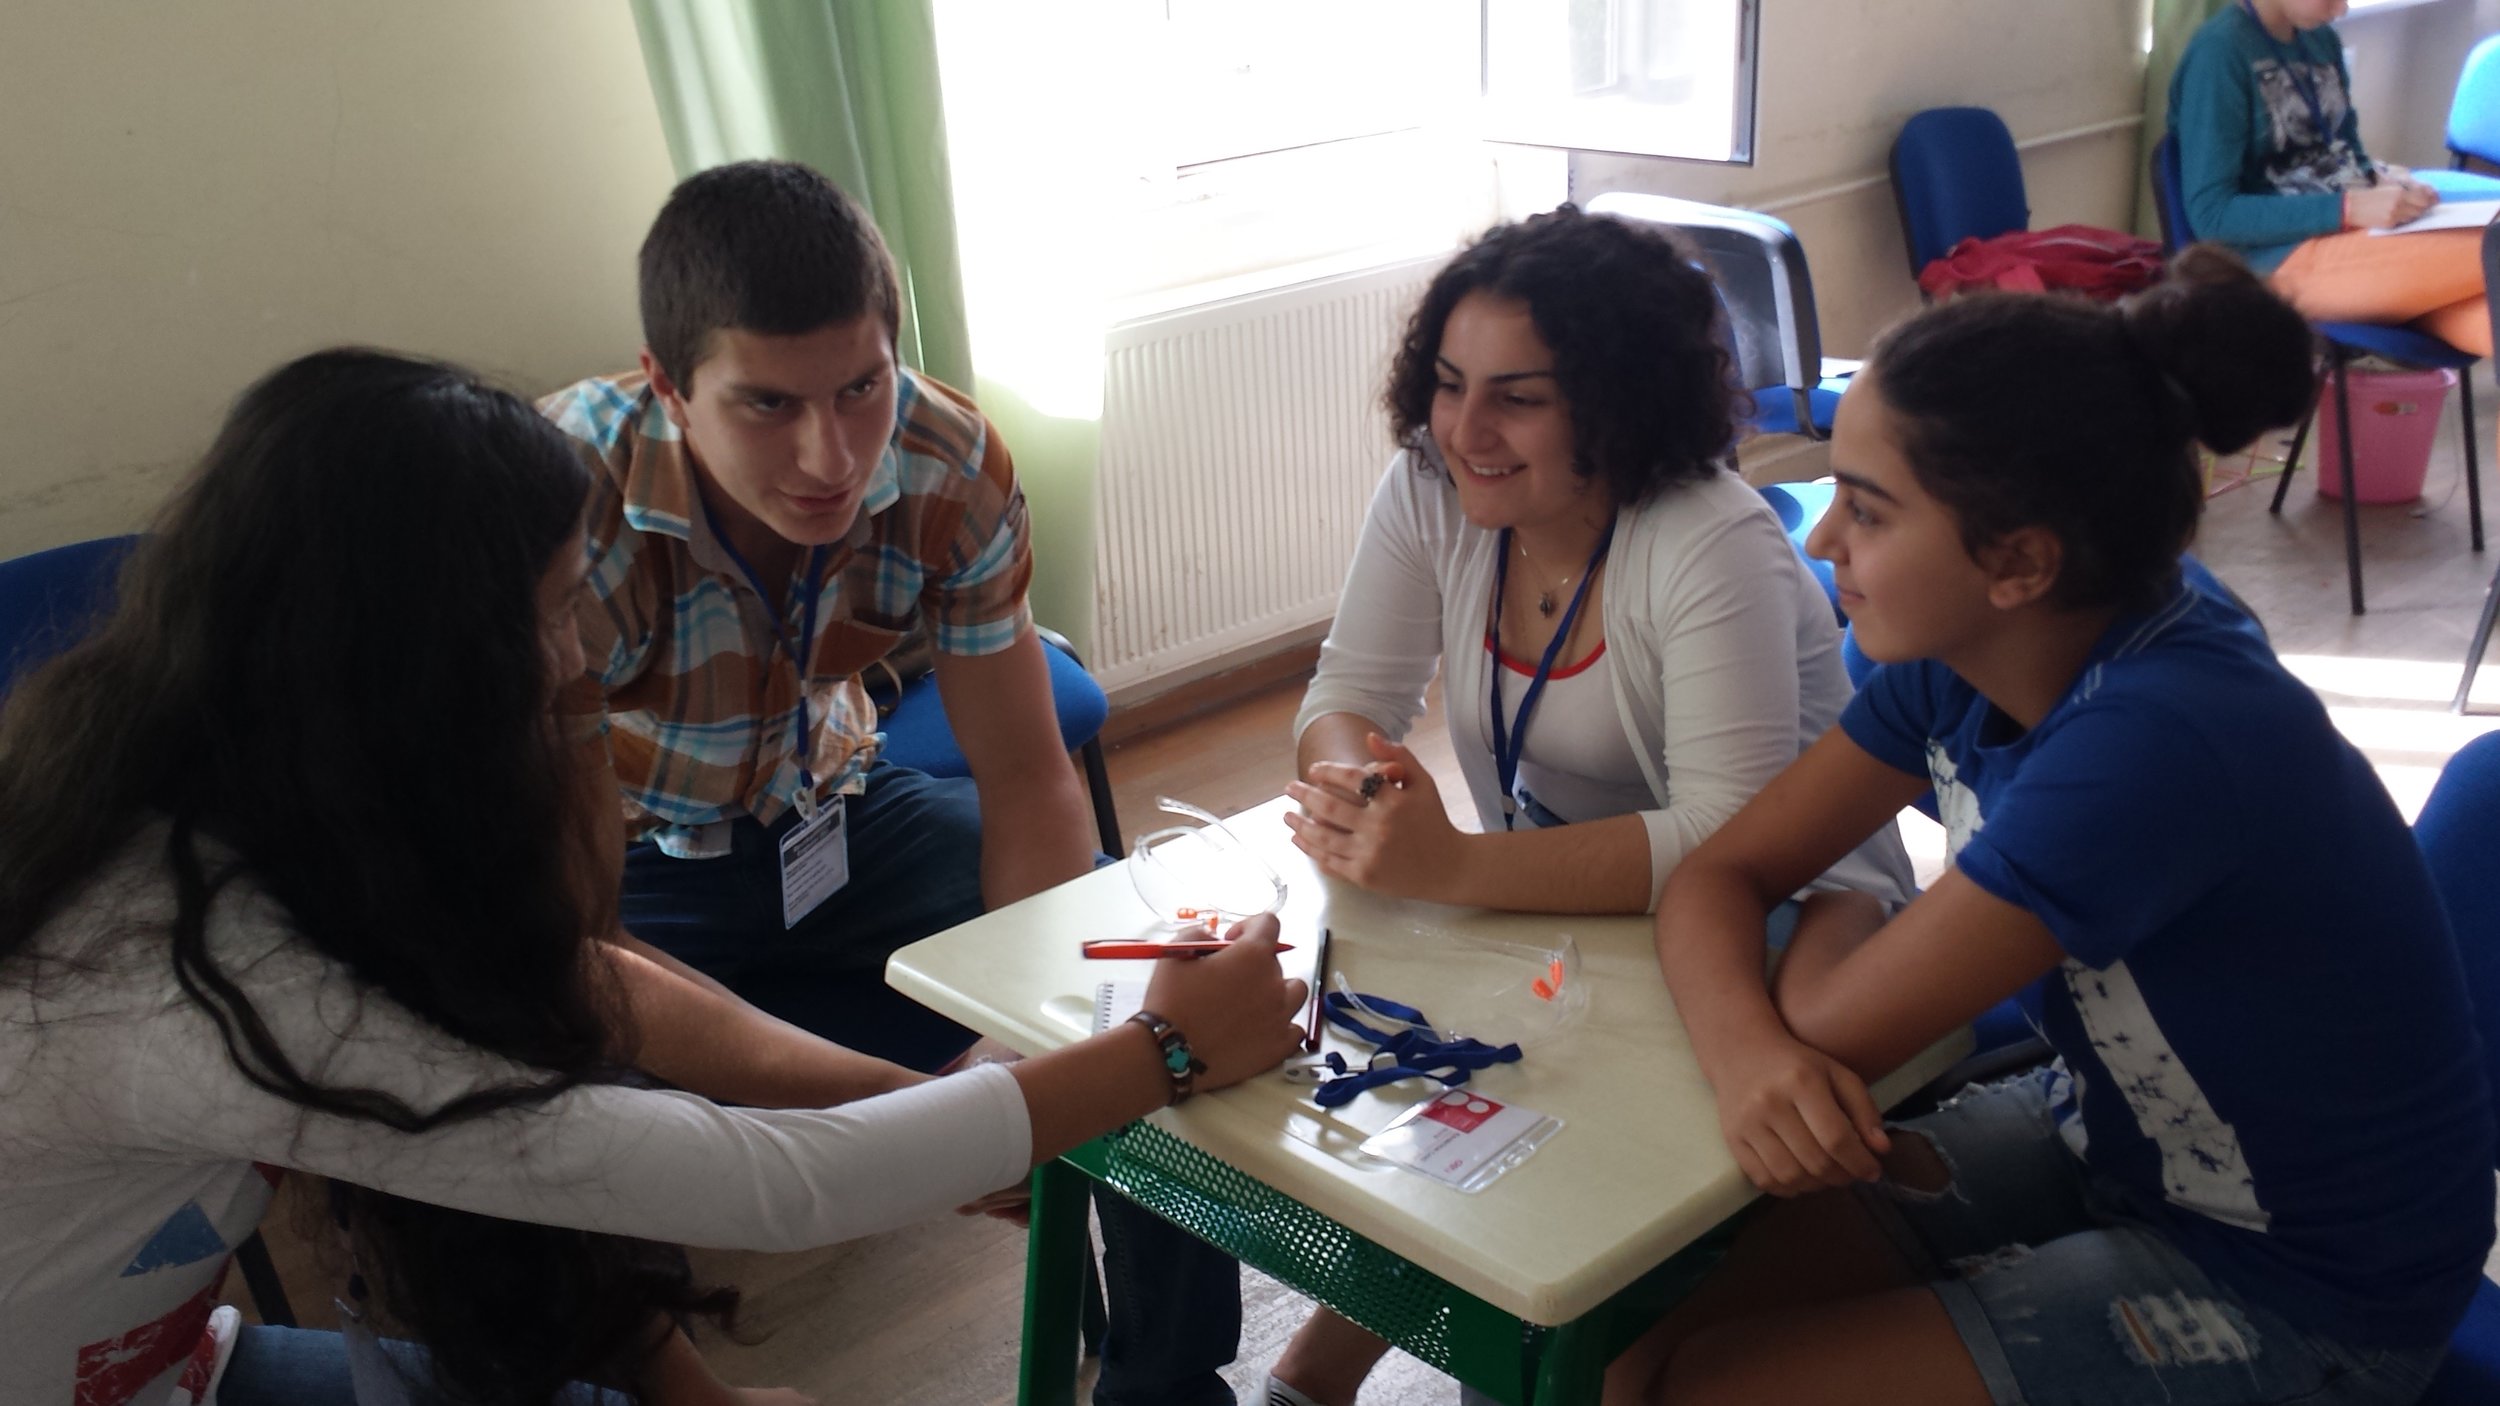
METS: Mathematics, Engineering, Technology, and Science. In Georgian, mets also means, “me too”. METS camp embodied both meanings, inviting 32 girls and boys (grades 9-12) from the Sachkhere and Chiatura regions to participate in hands on science projects. Campers worked in teams of four, taking on rotating, specified roles to ensure that, over the course of the week, each member experienced all of the potential responsibilities as they delved into some of the science behind the body, electrical generators, global warming, health, and more.
If that sound both daunting and awesome, you’re right! This post is going to dive in and give and murky depth look at the good and the bad, what went right and what went terribly wrong.
Planning and Lead Up
This is where I ran into the most issues. That they happened here instead of during camp is a good thing.
The obvious place for me to begin planning was choosing the experiments and activities we would do. It was possible that an experiment that I wanted to do just would not fit. The criteria for all activities were:
- It must be relatively short, no more than an hour (though it could have longer prep time),
- It must showcase a practical application of science to the lives of the students, and
- Barring some sort of executive exception (aka it’s too cool not to do it) all of the materials needed to be found in Georgia. I wanted these activities to be things that could be repeated in schools so the lessons would continue past METS Camp.
From the bundle of assembled activities, the actual ones we’d do would be chosen by grouping them into themes. This would give each day of camp a different theme. Ideally, each day could be arranged so activities iteratively built on one another.
For inspiration I looked to my own experiences, books (e.g. Science Rocks, Howtoons), and many webpages (http://www.jpl.nasa.gov/edu/, http://www.wikihow.com/, http://www.education.com/, http://askabiologist.asu.edu/, and several others found through numerous Google searches). The NASA page turned out to be the most useful all around. I say inspiration because where I used some experiments verbatim, others I changed up. I’ll talk about some in the actual camp days.
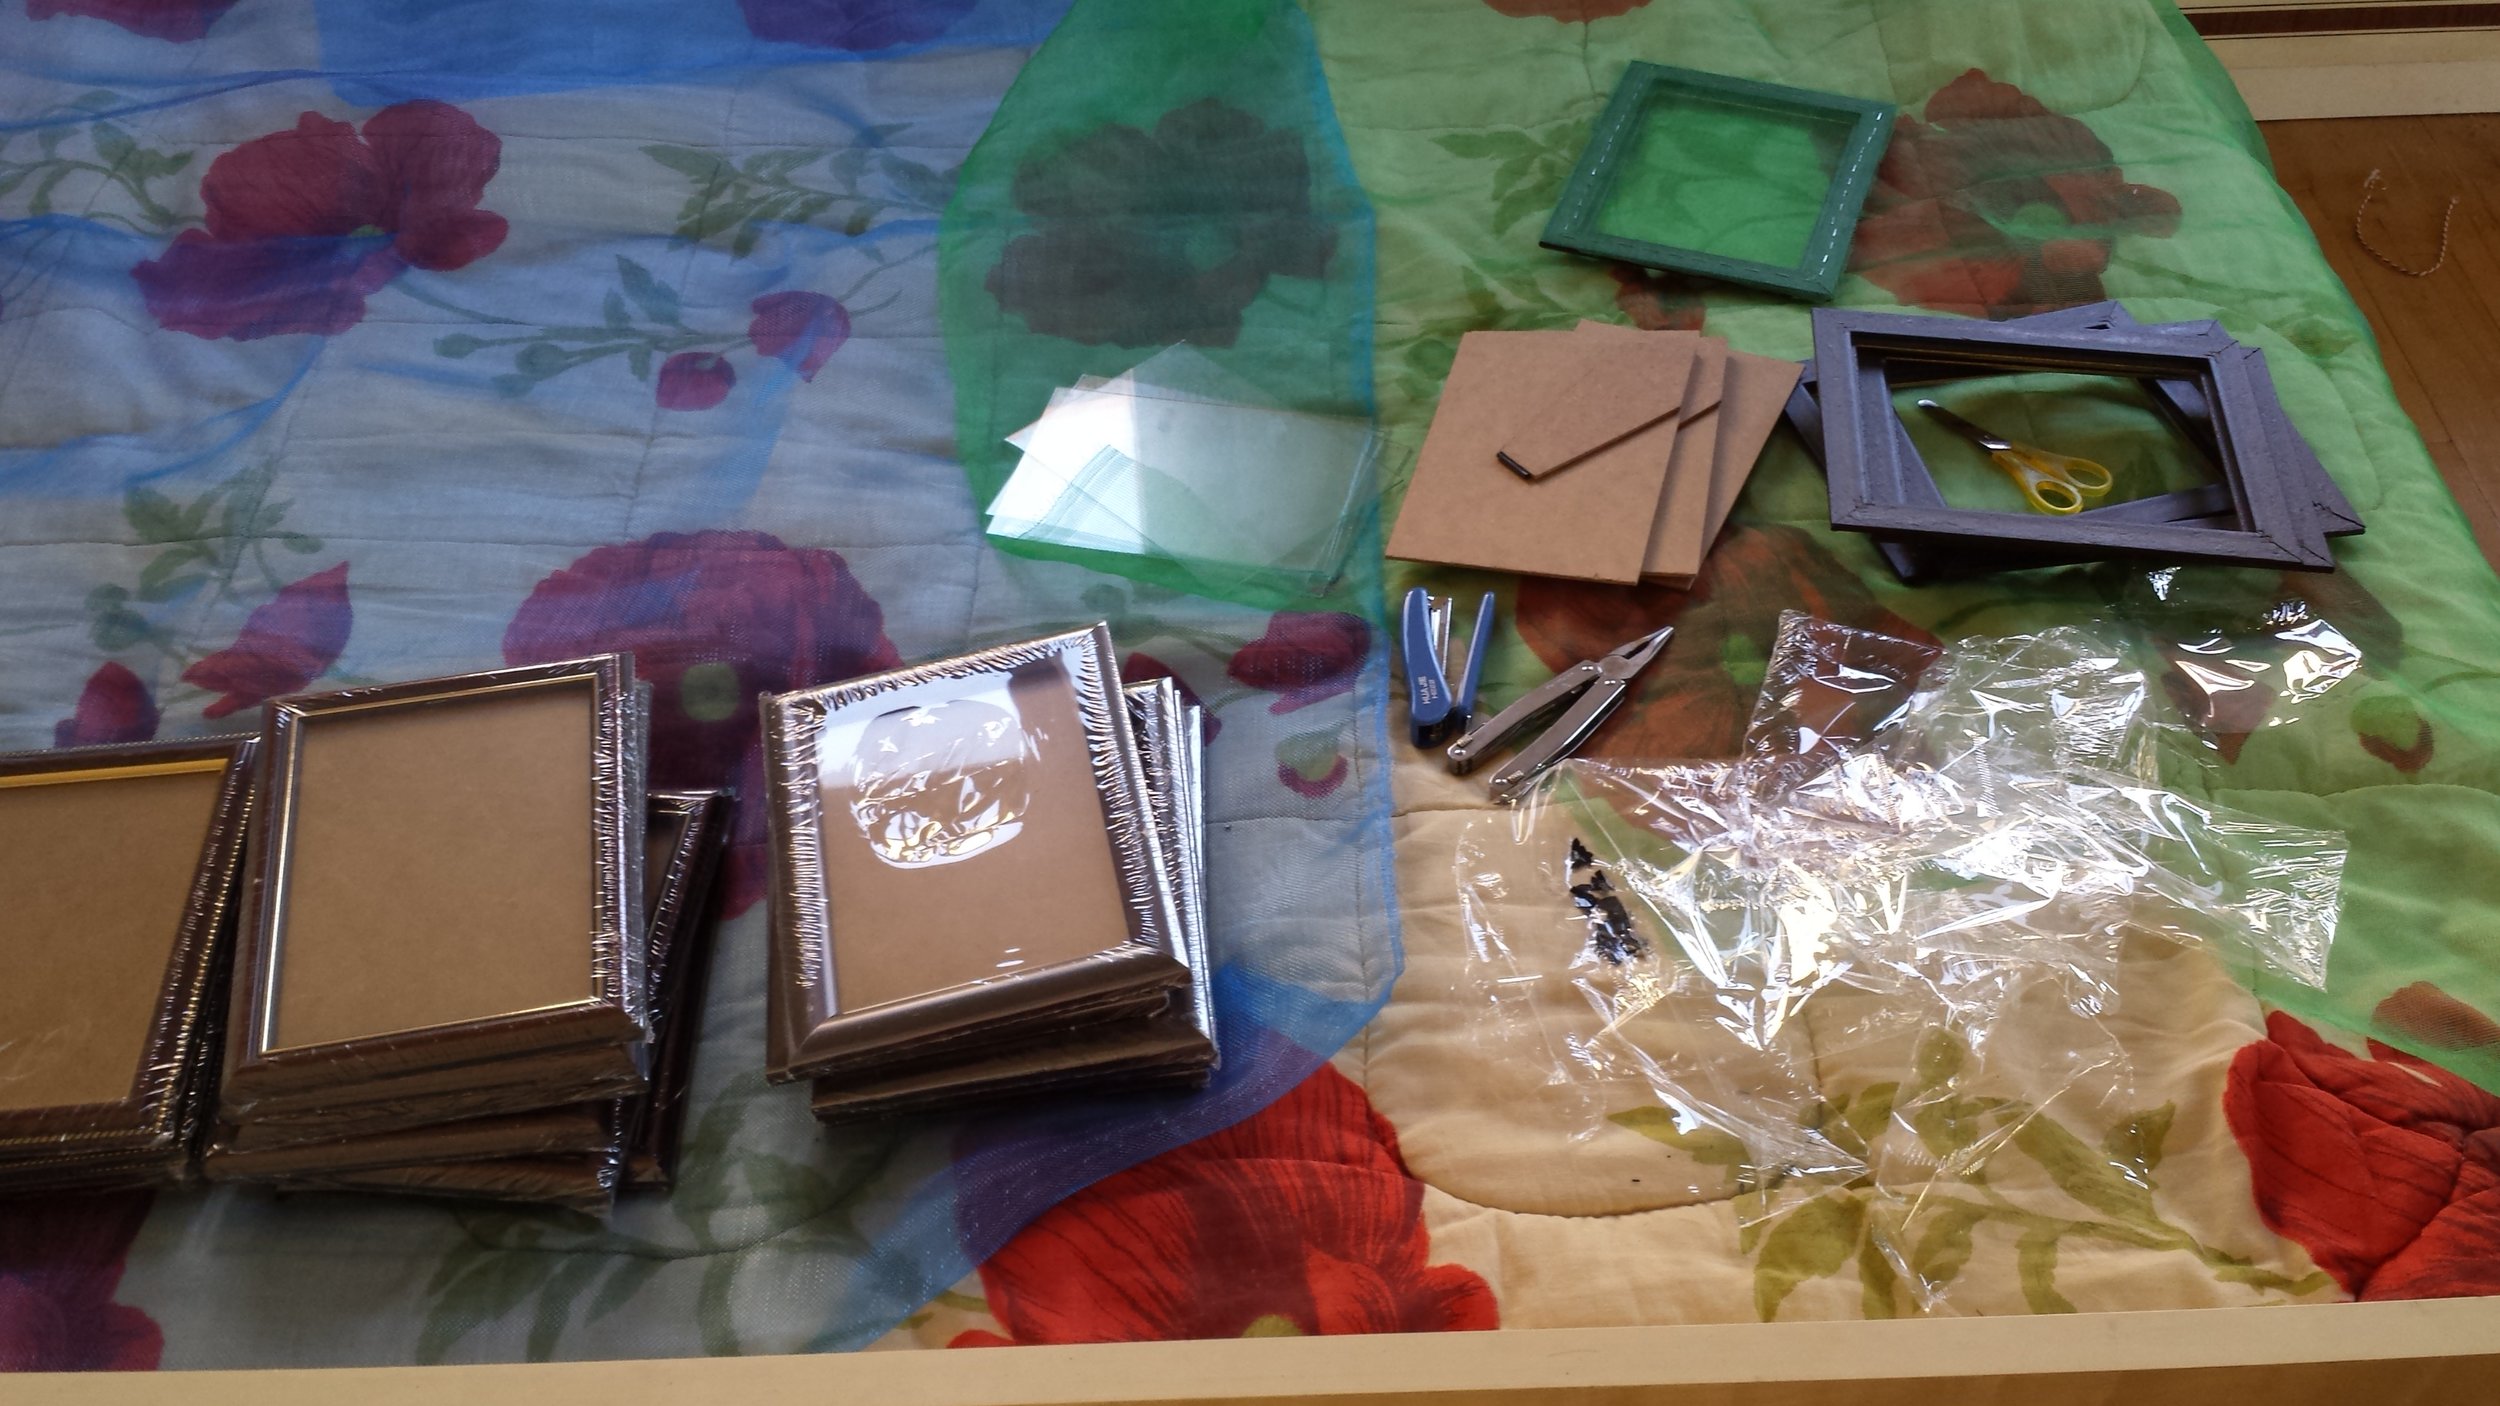
Processing picture frames for parts.
The different activities I wanted to do led to a wide ranging hunt for materials, and this is where I ran into problems. The issue wasn’t that I couldn’t find certain things, it was that I got hung up on finding things in Georgia rather than biting the bullet and just admitting that I had to order some things from America. Because I got hung up on finding stuff like film canisters, bar magnets, and magnet wire, the dates for the camp just kept getting pushed back and back, which led to a number of other issues.
The delay on my part meant I was late to file for a grant to help cover expenses for the camp. Originally I was just going to use my pocket, but Tamuna and Guliko convinced me to apply for a grant and to apply under the Let Girls Learn program as one of my goals for this camp was show and teach gender equity within STEM. The gender disparity in STEM is not a problem to address by only teaching girls or only boys. If you address the problem by only empowering girls or only empowering boys separately, then you inevitably create resentment and you fail to teach them to work together. If you instead empower both, then you help build a future where they work together.
Of course, grants take time in the planning, writing, and processing. Given how much I had already pushed things back, this meant pushing back the camp from the original July to the end of August. By itself that’s not a problem, but it meant that METS Camp joined the log jam of camps crammed in at the end of August. It also meant that we delayed advertising for the camp until kind of late.
The grant is something I was talked into doing; though, I am glad that I did. Where the community would have stepped up to help anyhow, the grant allowed me to enhance awareness of the issue of STEM needs here in Georgia. The grant was done through the Let Girls Learn program, and that name feels a bit misleading. It’s easy to mistake it as only funding girls programs, but think of it instead as funding gender equality programs.
A key part to this camp was getting both science teachers and university students to come help out. I wanted the science teachers there not only so they could help with the terminology and presentation of a few items, but so that they might learn additional activities that they can do in the classroom. This is why it was so important to make sure as many materials as possible could be found here in Georgia.
Originally I was thinking 30 to 40 students, but the site only had so much space. I also hit on the idea of using the group roles I found as part of the solar oven activity on NASA’s website, which meant the number of students would need to be a multiple of 4. So 32! In practice, we had some groups of 3, but that worked out OK.
From the beginning I knew that I wanted help. Specifically, I wanted to involve university students, who could act as role models for the kids, and science teachers who could maybe learn the activities and take them back to their own schools. Both would help with crowd control, making sure the campers understand each activity and stay on task.
Fairly early on, with Tamuna’s help, I was able to sit down and meet with university students who were interested in coming to help out. We had 11 students who wanted to come. Unfortunately, we could only take 6. As time grew closer, from the 11 that were interested, we were down to 3 or 4 that were going to come, still a solid showing. Unfortunately, the weekend before camp, everyone canceled. Reasons ranged from work to having decided to attend other camps to family obligations. Sadly, they couldn’t even make it for just one or two days.
Recruiting campers started late, but we still got enough applicants. After cancellations and contacting alternates, we could barely meet our target number. And then come the first day, only 21 showed up. Well… nuts. The good news is that words got around. We peaked at 27 and leveled off at 24. The students that came enjoyed it enough to stick with it and spread word to get others to come. Plus the pictures we all took are now plastered all across Facebook.
I’ve mentioned roles. What were they and why were they important? Let’s start with the what:
- Project Engineer: You check the team’s work, you ask the Project Director (me) questions, you lead team discussions, and you are in charge of safety.
- Facilities Engineer: You collect the supplies and equipment from the warehouse, you direct cleanup, you return supplies and equipment, and you make sure the team only uses what is needed.
- Developmental Engineer: You are in charge of getting the design done, you lead construction, you make the supply list, and you approve the design after construction.
- Test Engineer: You record all information, you make sure written reports are done, you fill out forms of any kind for the team, and you make team reports to the rest of the teams.
This set up gave each member of a group a specific list of responsibilities. This forces the team to work together much like scientists and engineers do in the workplace. Quiet members still had jobs to do and a way to shine. If one member got too exuberant and started trying to do other people’s jobs, the roles gave me and other faculty a tool to restrain them. It’s hard to tell a student “stop doing everything because you are too excited”, but it’s easy to tell them “stop doing other people’s job because it’s not your job.” Each day the roles rotated so everyone got a chance at each, and then, on the last day, the groups decided for themselves who got what role. This tool exceeded expectations, but it could have still been improved if there were more staff to interact with the groups.
Alright, enough prelude, what actually happened? I’ll skip the introductions, role rotations, knowledge tests (though we had an average increases on 165% from start of week to end), and the daily safety review that had me miming different injuries each day.
Day 1 - Heat
As mentioned, only 21 students showed, of which 6 were boys. One student got a pass for not showing up due to family tragedy and would join us on later days. We’d wanted a 50/50 gender split, but at least we had enough for one per group for 6 groups. Also in attendance were 2 science teachers: Maia (biology) and Nana (chemistry). This was great; though, they would be the only science teachers to attend. Fortunately, both my English teaching counterparts, Nino and Nino (I should just call them Nino Squared), were also there so they could translate.
Giving everyone a chance to show up as well as issues in getting the name tags working (we couldn’t get the printouts and the badges together until that morning) meant we started pretty late. Not very auspicious.
Throughout the day various students (invariably boys) stepped outside their assigned roles, but the four role team system we had going allowed for easy correction of these issues. It was great to see the system immediately pay off as predicted. These problems tapered off as the week continued.

Live Long and Prosper
Alien Greeting: This ice-breaker was our first activity. The groups each chose a planet they were from and created a greeting. This much have both motion and sound as components. Of course, I used Star Trek’s vulcan’s as an example. The kids then showcased their creativity by using their greeting to introduce themselves to everyone else, who were supposed to try to return the greeting. The planet names also then became the group names. So our groups were Mars, Pluton, Saturn, Mann, Paradise, and Gvariland.
Where this activity is designed for individuals, it worked great here and game us a way to immediately give groups identity.

Trying to get air bubbles out of the straw in the thermometer.
Thermometers: We began our science discussions with thermal expansion, heat capacity, and phase transitions. Although a lot of numbers were given for comparison purposes, we kept our focus on the concepts and the vocabulary. These concepts, specifically heat capacity, would prove important to the next two days as well, which helped reinforce the subject matter. At the end of it we built thermometers by taking a vial of ethanol, adding a bit of red food coloring, adding water to fill up the rest of the vial, popping a straw in, and sealing the straw into place with Plasticine.
This is where the need for additional assistants really showed itself. It’s hard for just me to go around and make sure everyone has the basics of the design right. Everyone seemed to grasp the concept, but some errors were made, and some groups had difficulty getting an airtight seal with the Plasticine. The most common errors were putting the bendy part of the bendy straw outside the vial and leaving too much air in the vial.
Lacking assistants, I should have physically demonstrated the construction of items to help better instruct the students. Alternatively, I could have led them step by step through the construction process since this was their first project. I should have also made a second example. Several students examined the one I had made; though, they only copied one feature of it (stoppering the end of the straw).
I should have also maybe explained calibrating the thermometer before construction began. I had felt it safe to wait until after the construction was done to talk about the use and calibration. But… every group grabbed the thermometer we had on hand for calibration and just copied the scale from it.

Attaching the cowling for the air conditioner's fan.
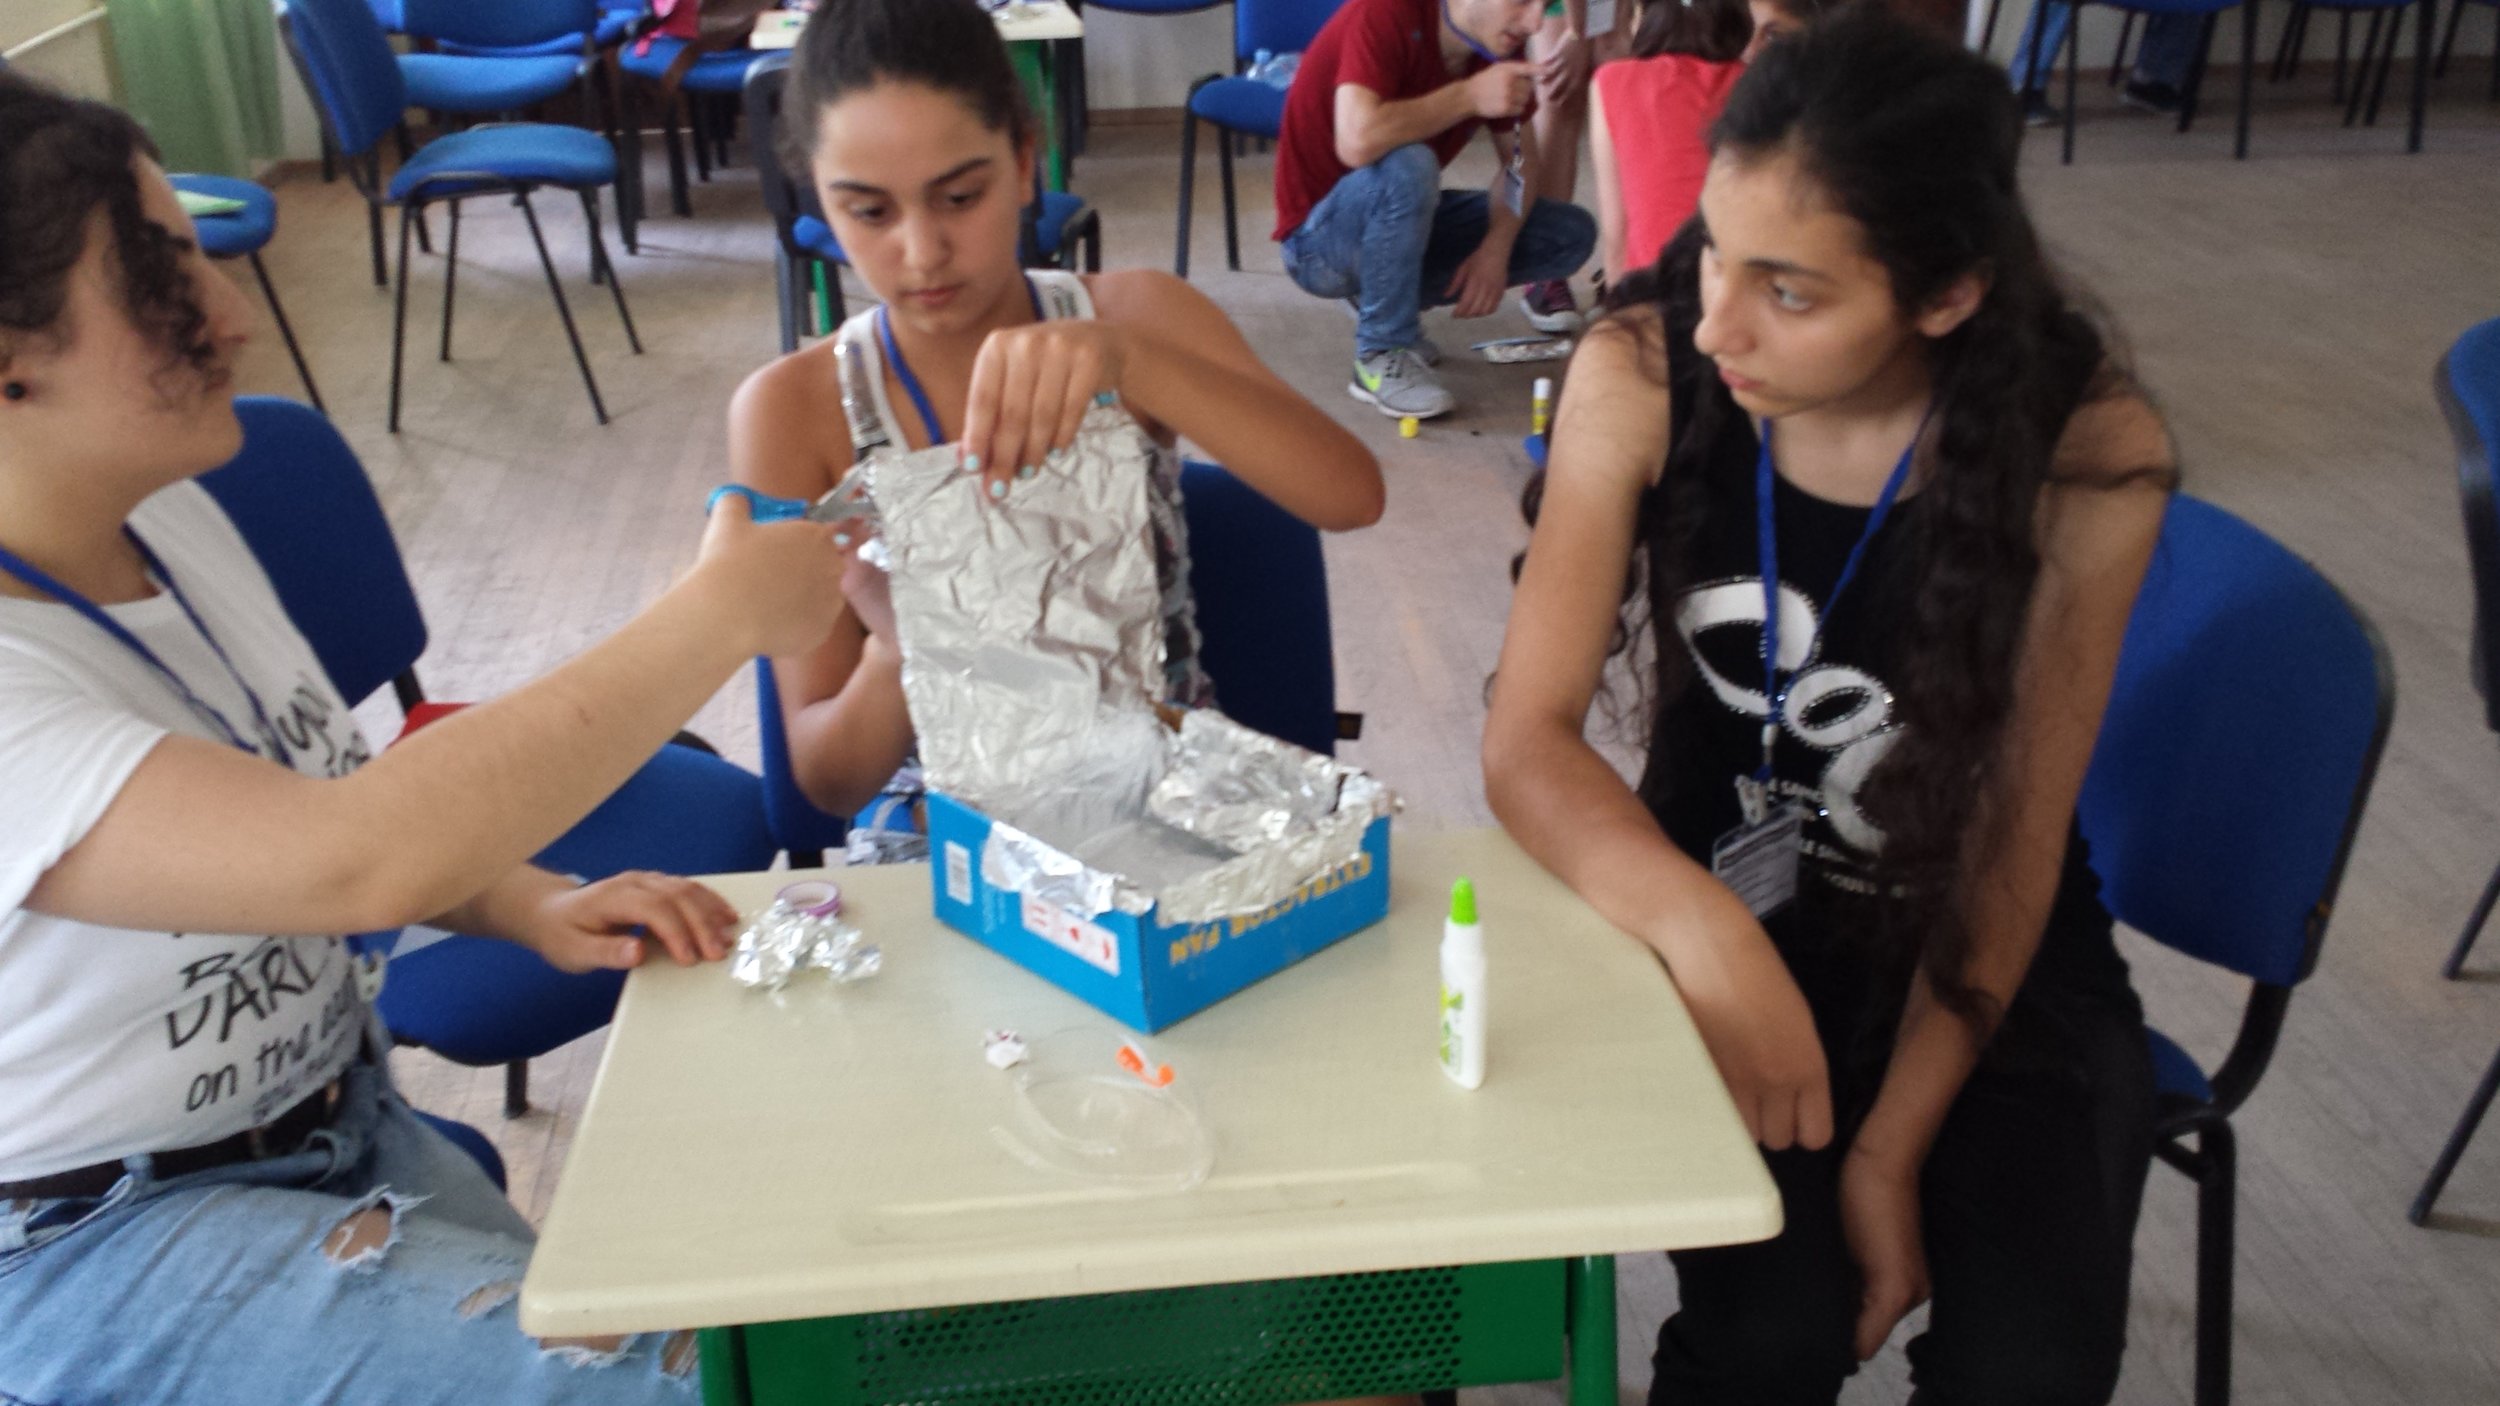
Air Conditioners: After talking about temperature gradients and how bodies of water can keep an area cool in summer, we moved straight into construction. The students liked playing with the power tools, and loved that the air conditioners actually worked.
Nothing wrong happened here except that we just didn’t have enough cold water for everyone to test their end product. This activity also showed what would come to be a notable issue throughout the camp: we could have used more tools. Having only one glue gun, electric drill, jigsaw, iron, and blender, only three pairs of scissors (one of which would break), and a variable number of knives would haunt us.
Solar Over: We started this activity 30 minutes past our end time. Before beginning I asked if the students wanted to stop here for the day or do one last one. They all asked to continue. This was a great sign that something was going right.
After discussing electromagnetic radiation we cut up the boxes for the fans we used to make the air conditioners. We also used aluminum foil and glass and particle board from picture frames that we got for paper recycling (more on that later).
The students enjoyed themselves, but they all made the same mistake of cutting away too much of the box despite warnings and despite using the model product to show them where to cut. Again, this could have been remedied with assistants.
Day 2 - The Environment
We were actually supposed to talk about the body today, but we needed chicken bones for that and didn’t get them until Monday, so we switched Days 2 and 3.
20 of our 21 students returned. The one that didn’t messaged me earlier to say she was sick (and she was there for the rest of the week). So that was a good sign. We were also joined by several new students, many of whom hadn’t actually applied, but since we had space, why not, right?
This day also brought us an interesting problem: Our spare safety goggles disappeared. I suspect that since the little plastic bags that each pair came in was put back in the bag with the unused goggles that the bag got mistaken for trash.
Of note, it was great to have Maia at camp this day as she helped explain parts to the students and she knew the vocabulary better than my counterparts.

Card Line Up: Students were dealt cards from a deck and told to organize themselves without talking. They were not told how. This is a slight variation of an activity that we’ve done at Peace Corps events, and I’ll admit that I never liked it much. I didn’t like it because the organizers always had a particular order in mind, yet there were never instructions as to how to organize. That’s the important thing about this activity that most people don’t get, but which I stressed to the kids. It’s also why I used a deck of playing cards.
There is no one right way to organize yourselves. It depends on how you want to look at the data, and having a preconceived notion for how the data should line up can impede you from seeing patterns of interest. In science we must keep an open mind regarding what data may mean and be able to arrange the data in multiple ways to find trends. Having both the numbers and the suits from the cards caused enough confusion to drive this point home, likening the numbers to the X axis on a graph and the suit to the Y axis.
Recycling: I feel like Georgian students get bombarded with the message that trash is bad. It was also hard to find Georgia specific data online. So I kept it to some basic science about how plastic doesn’t decompose, it just becomes microplastic, and about how making paper releases various toxins that are bad for our health and environment. We ended the discussion by talking about the advantages of recycling and then went outside to recycle some paper by shredding, blending, and then resetting the paper on screens.
Of course, no one brought old paper like I asked, but fortunately I’d been gathering some the last several months. I’ll also take a quick moment to thank Irakli, who had arrived early and who helped me fill the all the tubs with water for this activity.
We really needed another blender for this activity, but, in retrospect, I think I could have arranged a better distribution method to make sure that multiple groups could all be doing stuff at once. Instead the single blender became something of a chokepoint. This slowed the activity down, which caused some students to lose interest. This in turn meant that we didn’t get to fully experiment with some things.
The problems aside, the students that stuck with it really enjoyed it. They tried colored paper, added pine needles and petals after the fact, used hydrogen peroxide to take ink out, and even tried a bit of starch. The highlight came when Ani told me about how her biology teacher had explained recycling but she’d never done it before and that she was going to tell her teacher about this project. At the end of the week she asked if she could also take one of the mesh frames we use for the activity to her school. Of course the answer was yes.
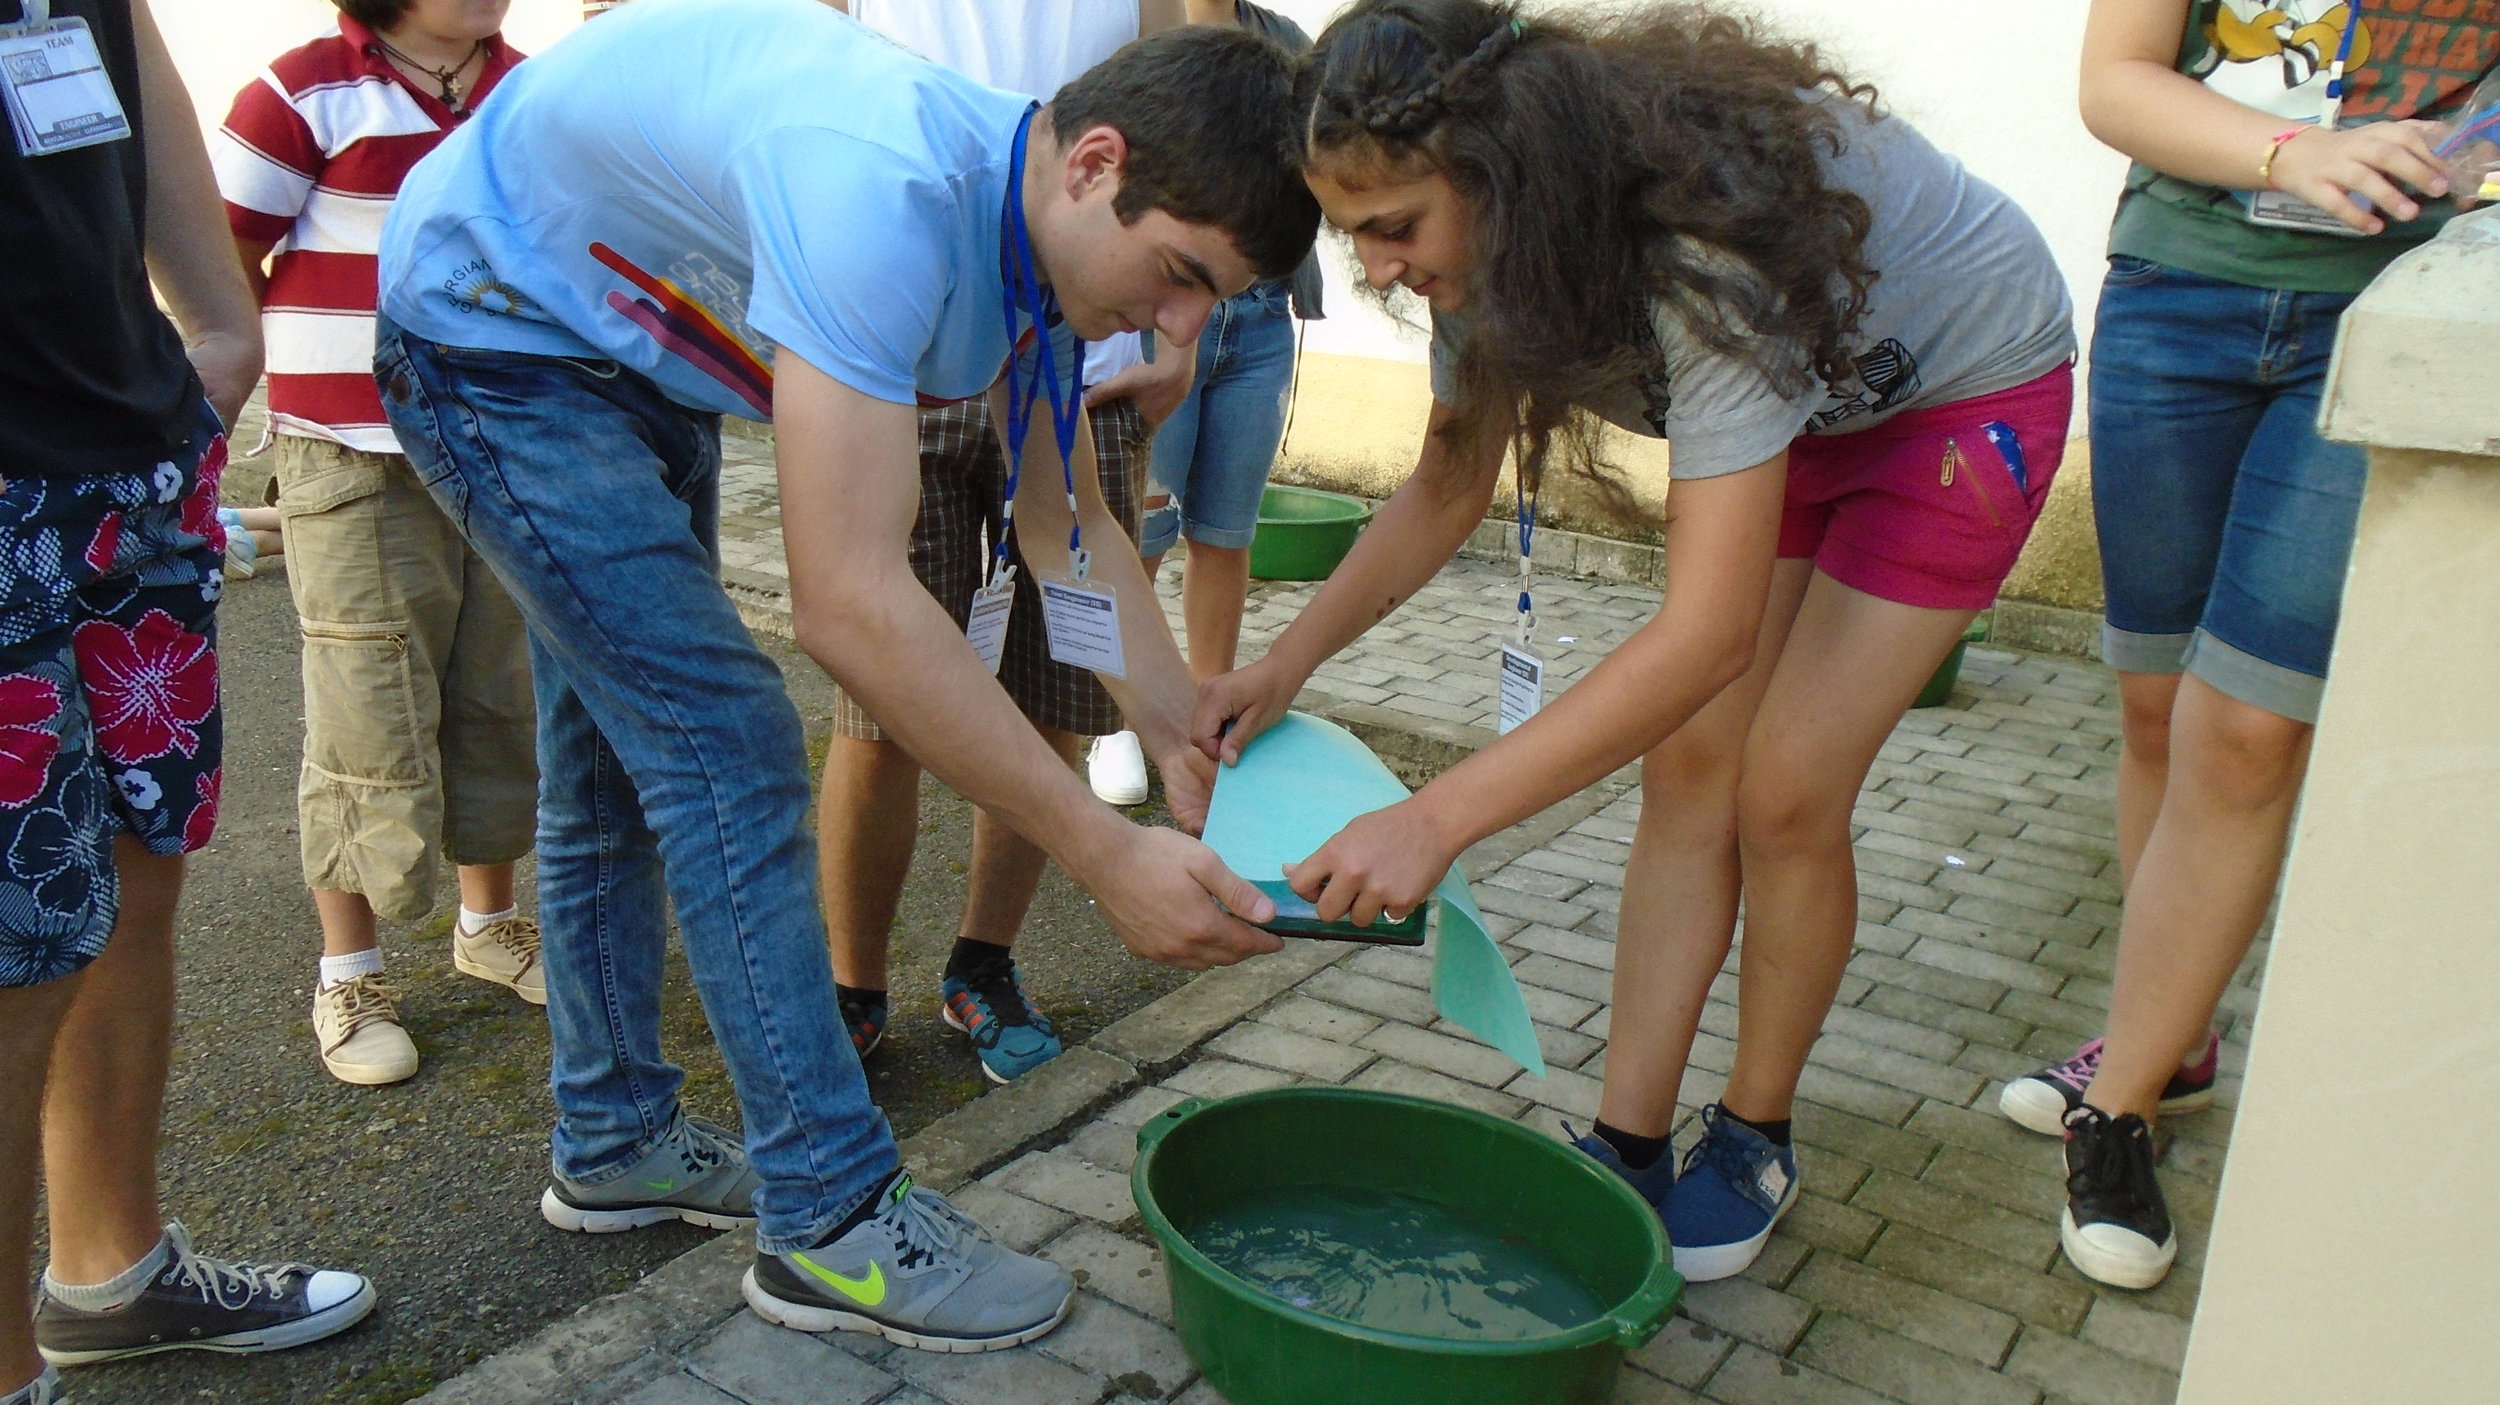
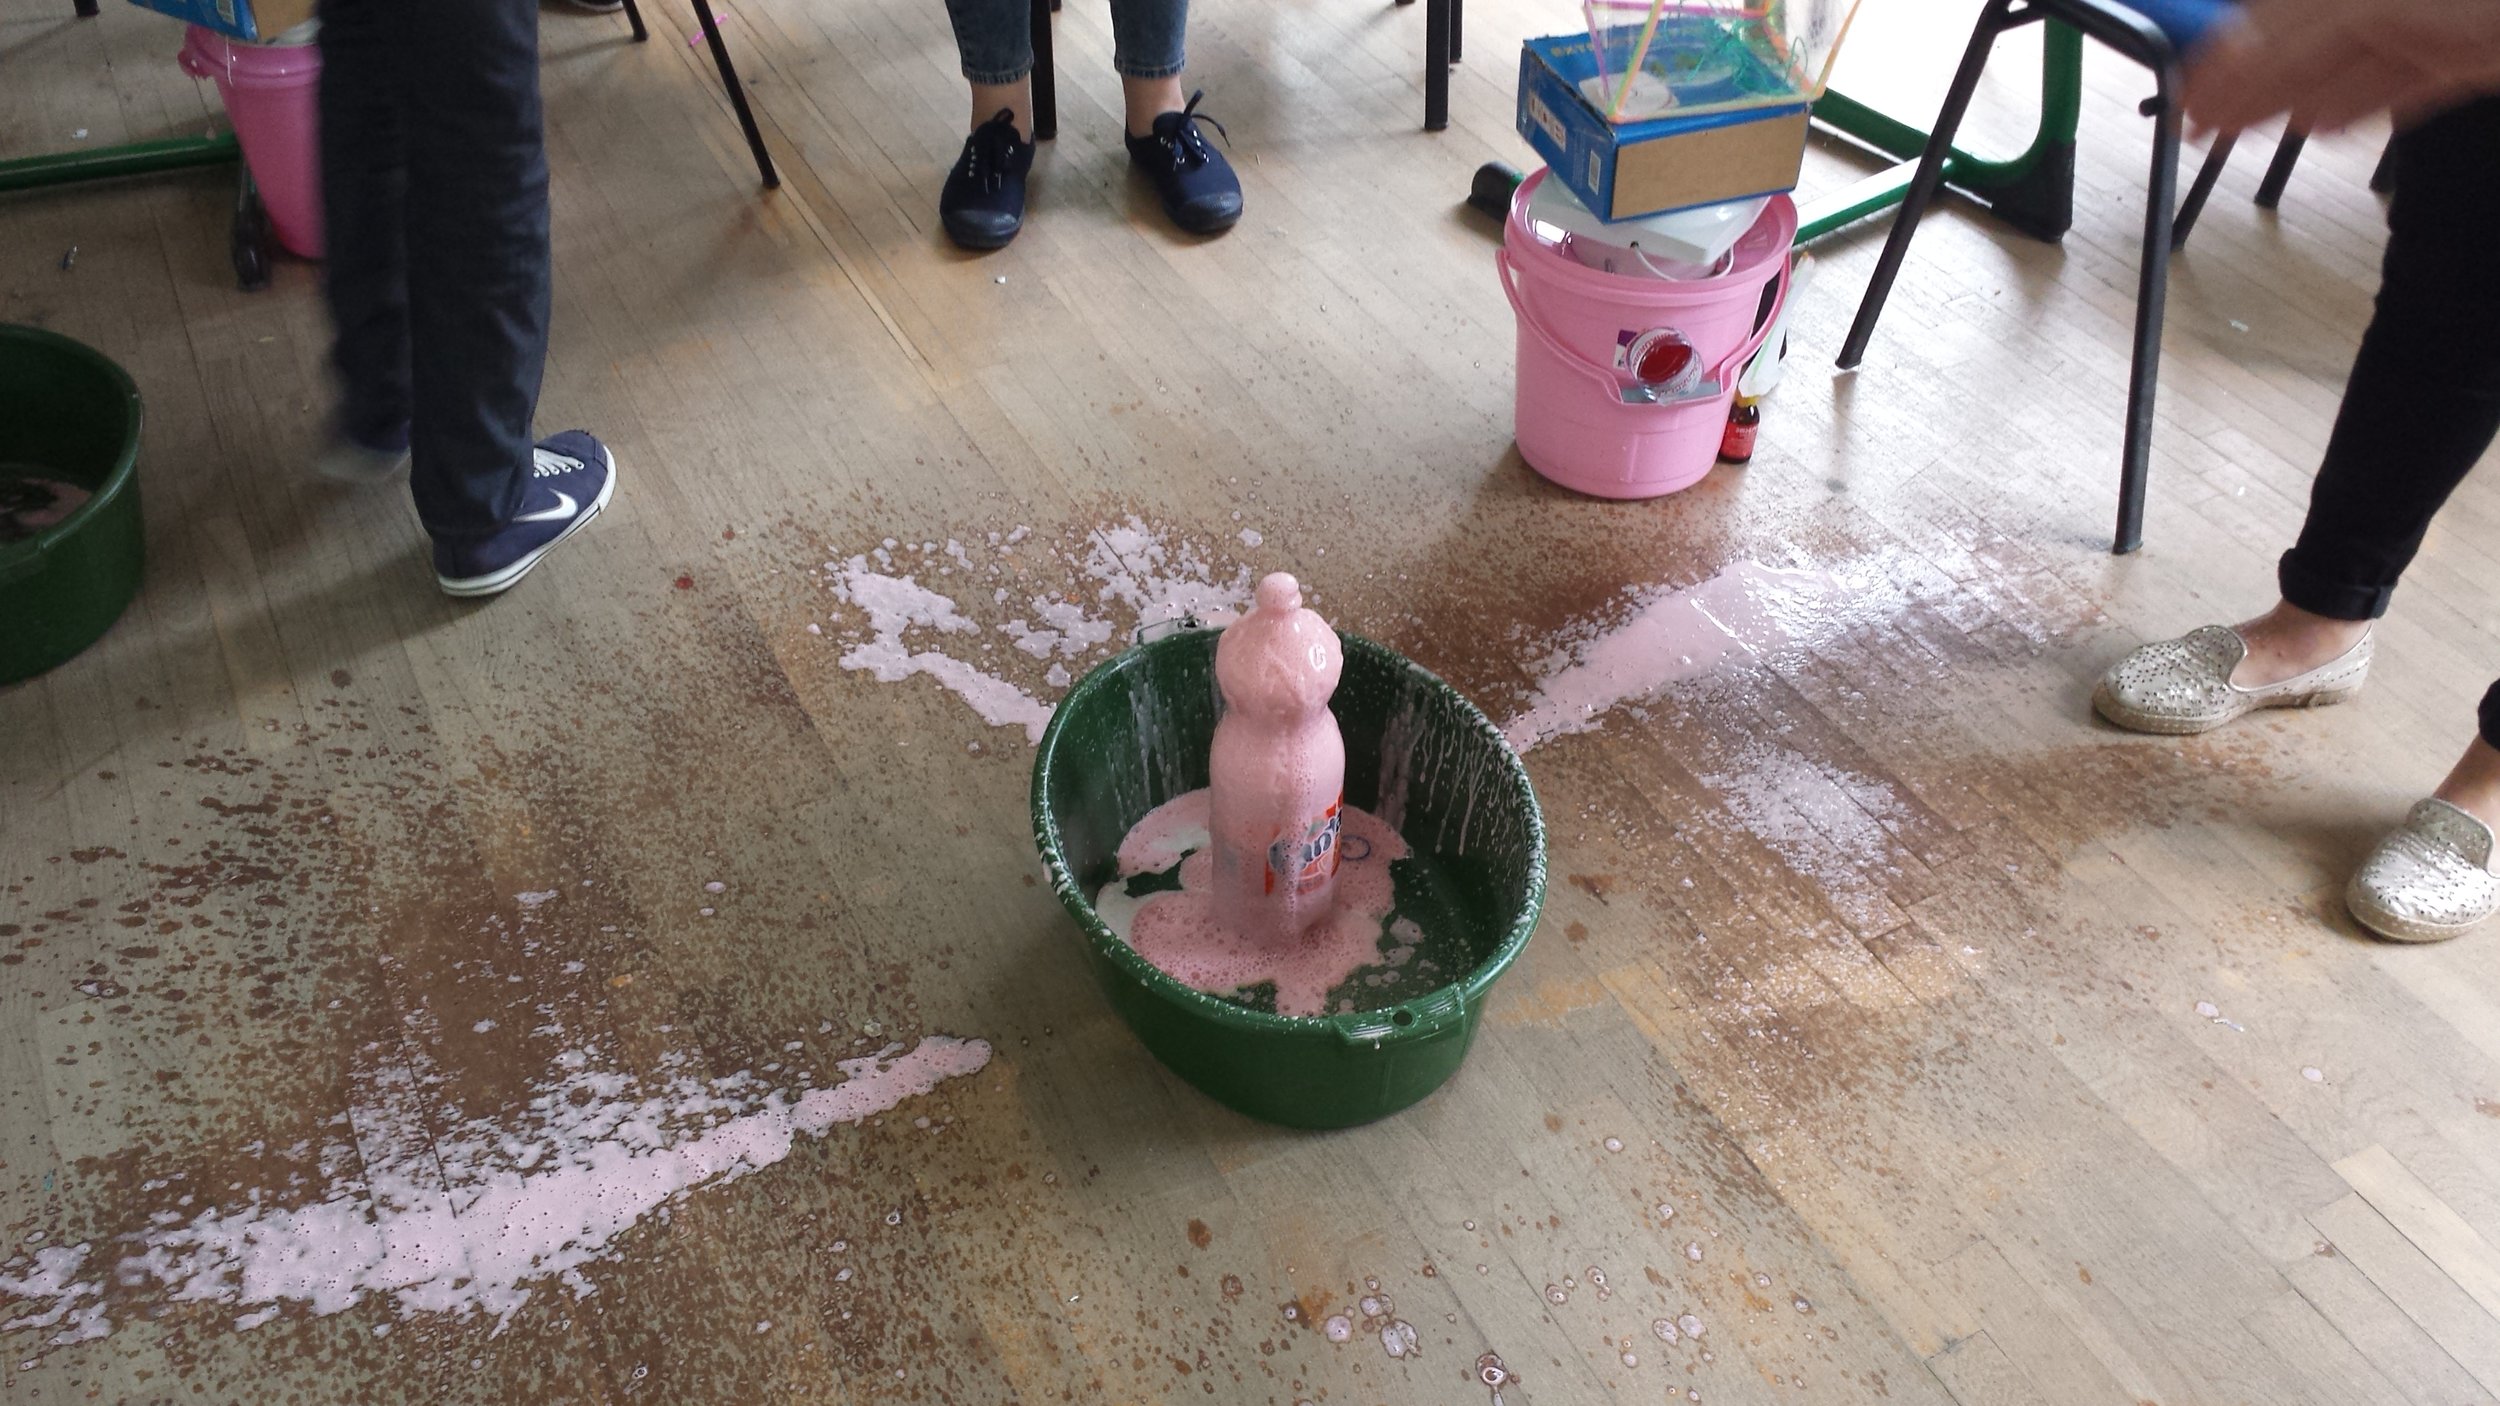
Water Filters: We reviewed the water cycle and expanded it with talk of aquifers, acid rain, and run off/erosion. We even covered water usage in space. This led us to talk about adsorption on charcoal and its use in water filters. The process is pretty basic, cut out the bottom of a bottle, put cloth or a coffee filter at the mouth of a bottle (on the inside), toss in your activated charcoal, toss in the sand, and finally toss in the gravel. It filters particles then chemicals.
The students seemed to enjoy this; though, some got impatient with the speed at which water went through the filter and tried to speed the process by crunching the bottles. I also totally ran out of time and blanked on rinsing the charcoal until it was too late. So… that made the filtered water a wee bit black. Not so great. We didn’t have pH strips to measure the acidity (need to find those next time), but I was able to modify our multimeter to measure conductivity. It was enough to get the point across.
Greenhouses: I was both surprised and happy that there was a lot here that the students didn’t know as we talked about greenhouse gases and their effects on Earth… and Venus and Mercury. It was great to have students and adults talk about how the weather here in Georgia has changed over just the last 20 years or so.

This section also included talk of the roles of oceans in keeping us from getting too warm, which leverages specific heat from day one, and let my put a lighter under some balloons.
When we got to building artificial greenhouses (a frame of bendable drinking straws wrapping in cellophane), the kids got creative. It was fun for them to just explore basic construction, something that prepped them from day 4.
If I would change anything here, it is that I would make examples of more shapes so students didn’t feel limited to just squares.
Day 3 - The Body
Once again it was great to have Maia on hand to help explain parts of the presentations. She’d just take over a topic and I’d finish it by saying “… and I’ll assume she just said all of this.”
The day felt like it could have used another activity, but we finished on time for a change, which was good.
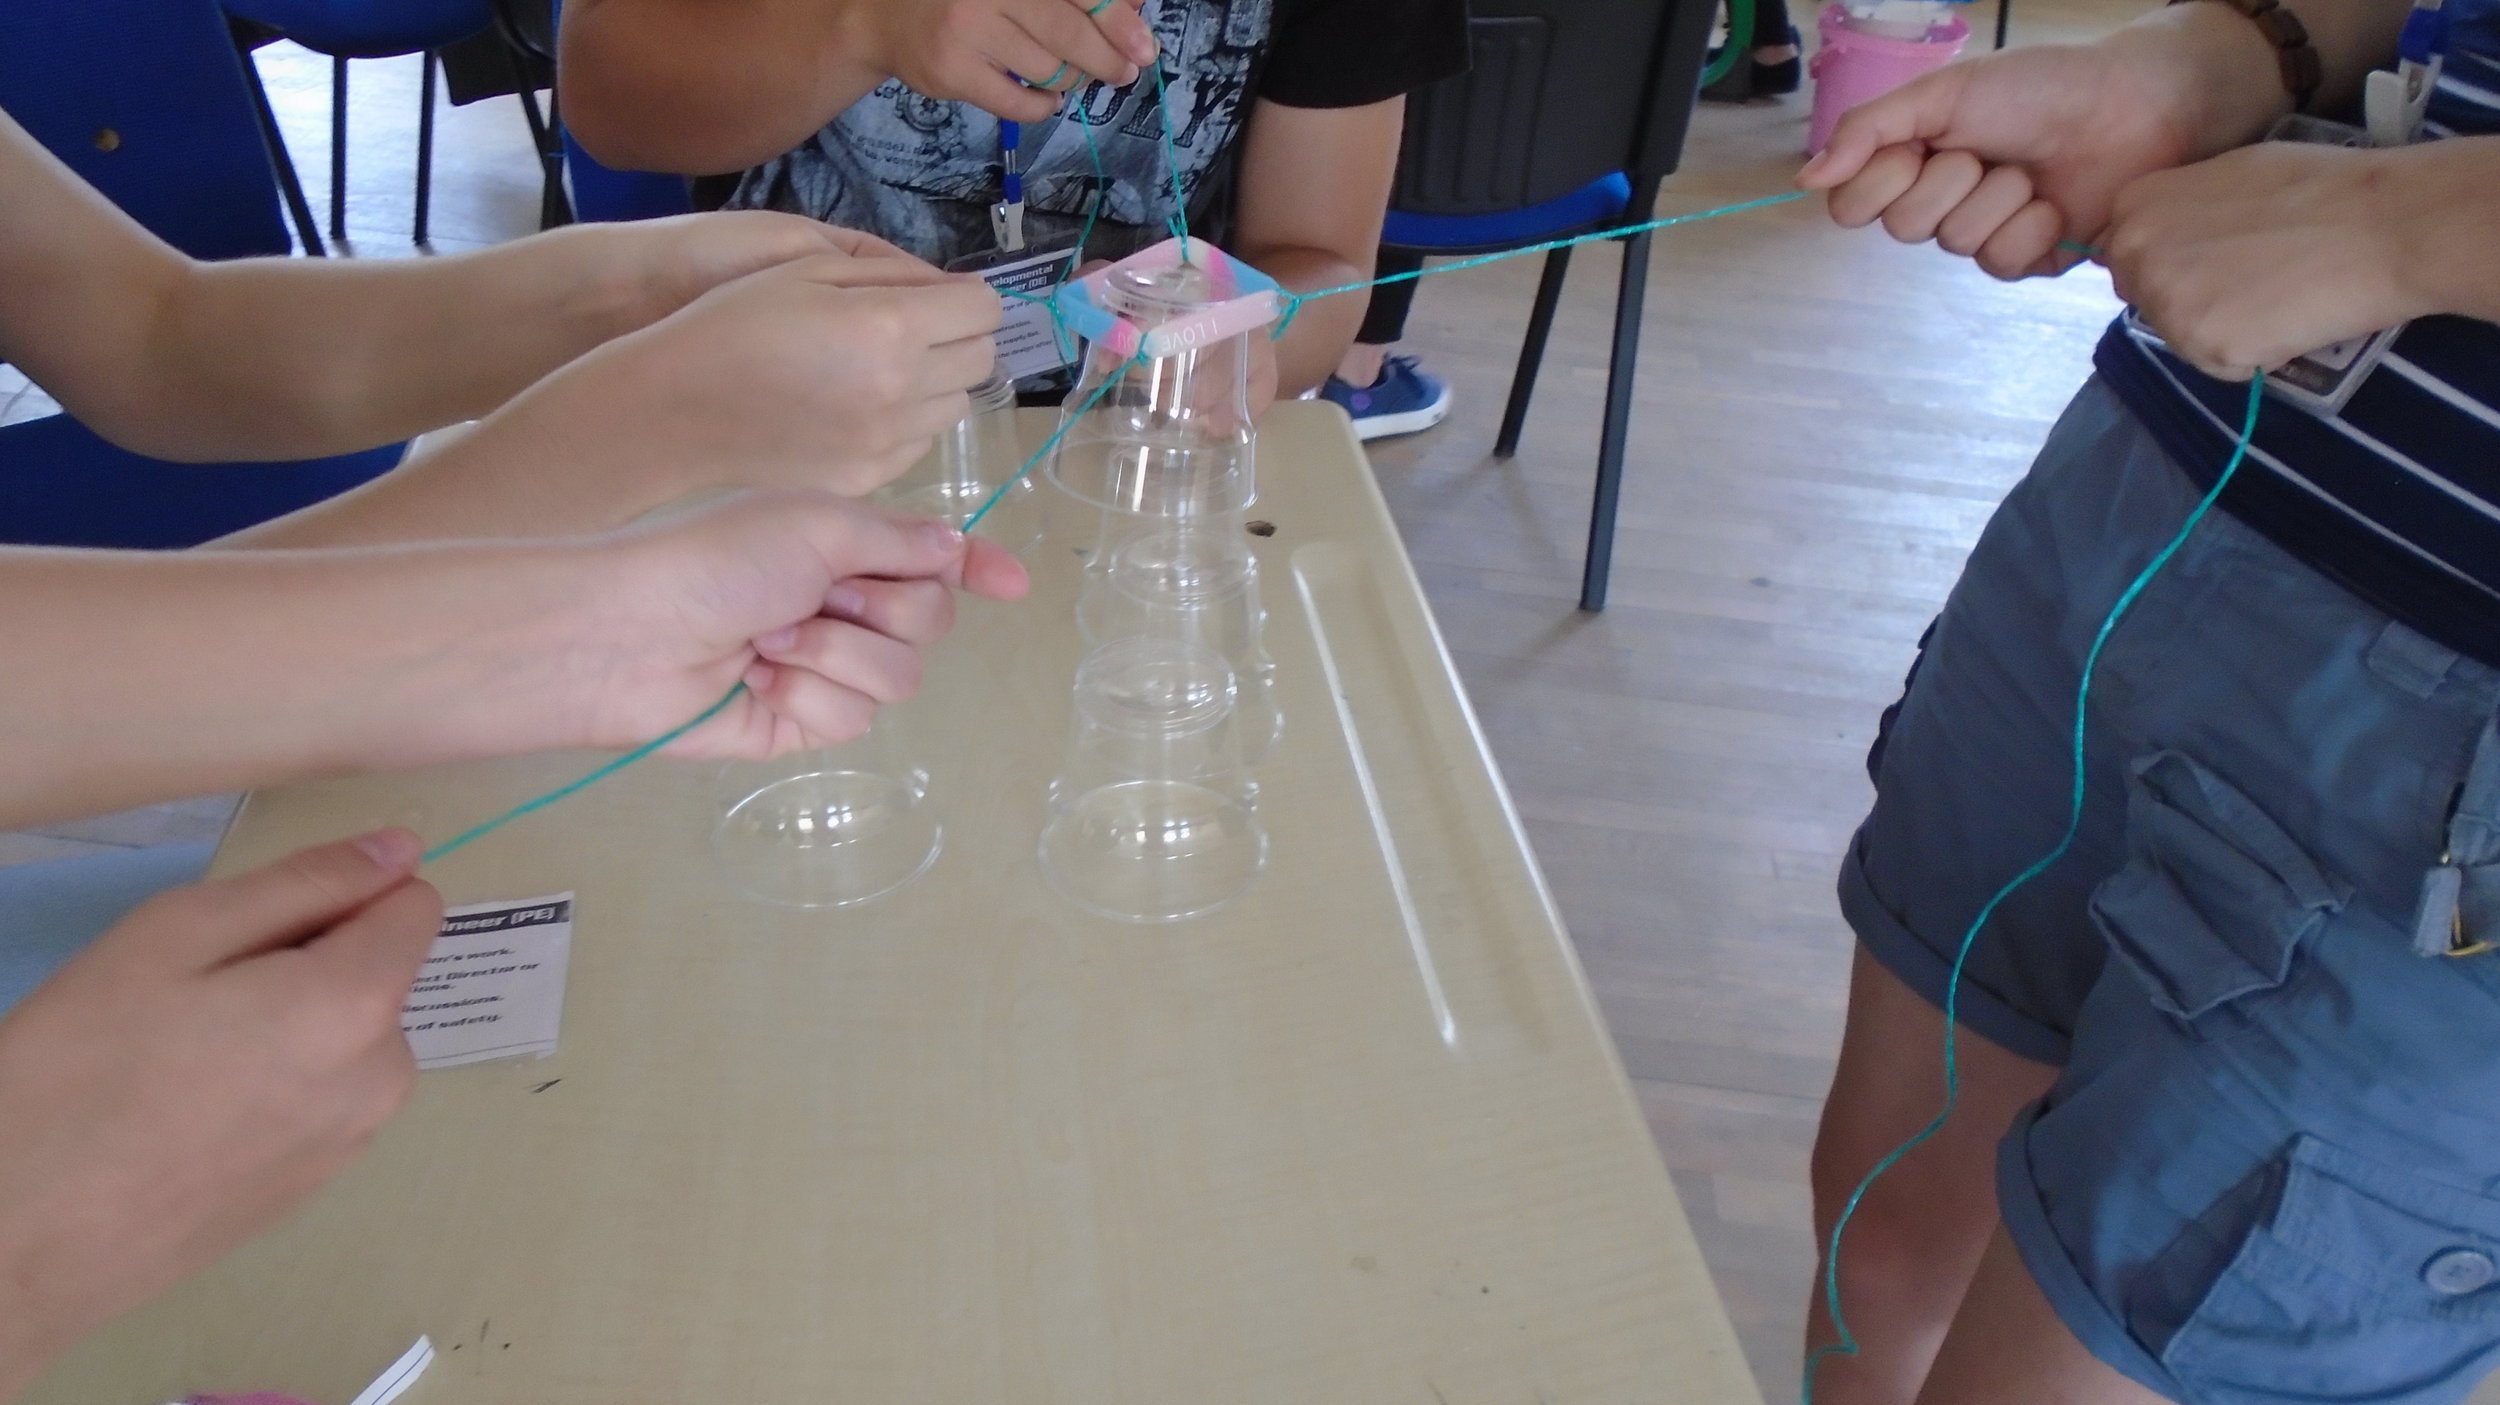
Cup Stack: Our warm up for the day was a team building exercise. You take 6 plastic cups and attach 4+ strings to a rubber band. Groups have to stack the cups, but they can only touch the string. I had originally planned for this to go with the environment day, but we switched days two and three and I didn’t have time to get the cups before today. Where this was a lot of fun, it also went much faster than expected. That the students all got the message about working as a team was a bonus.
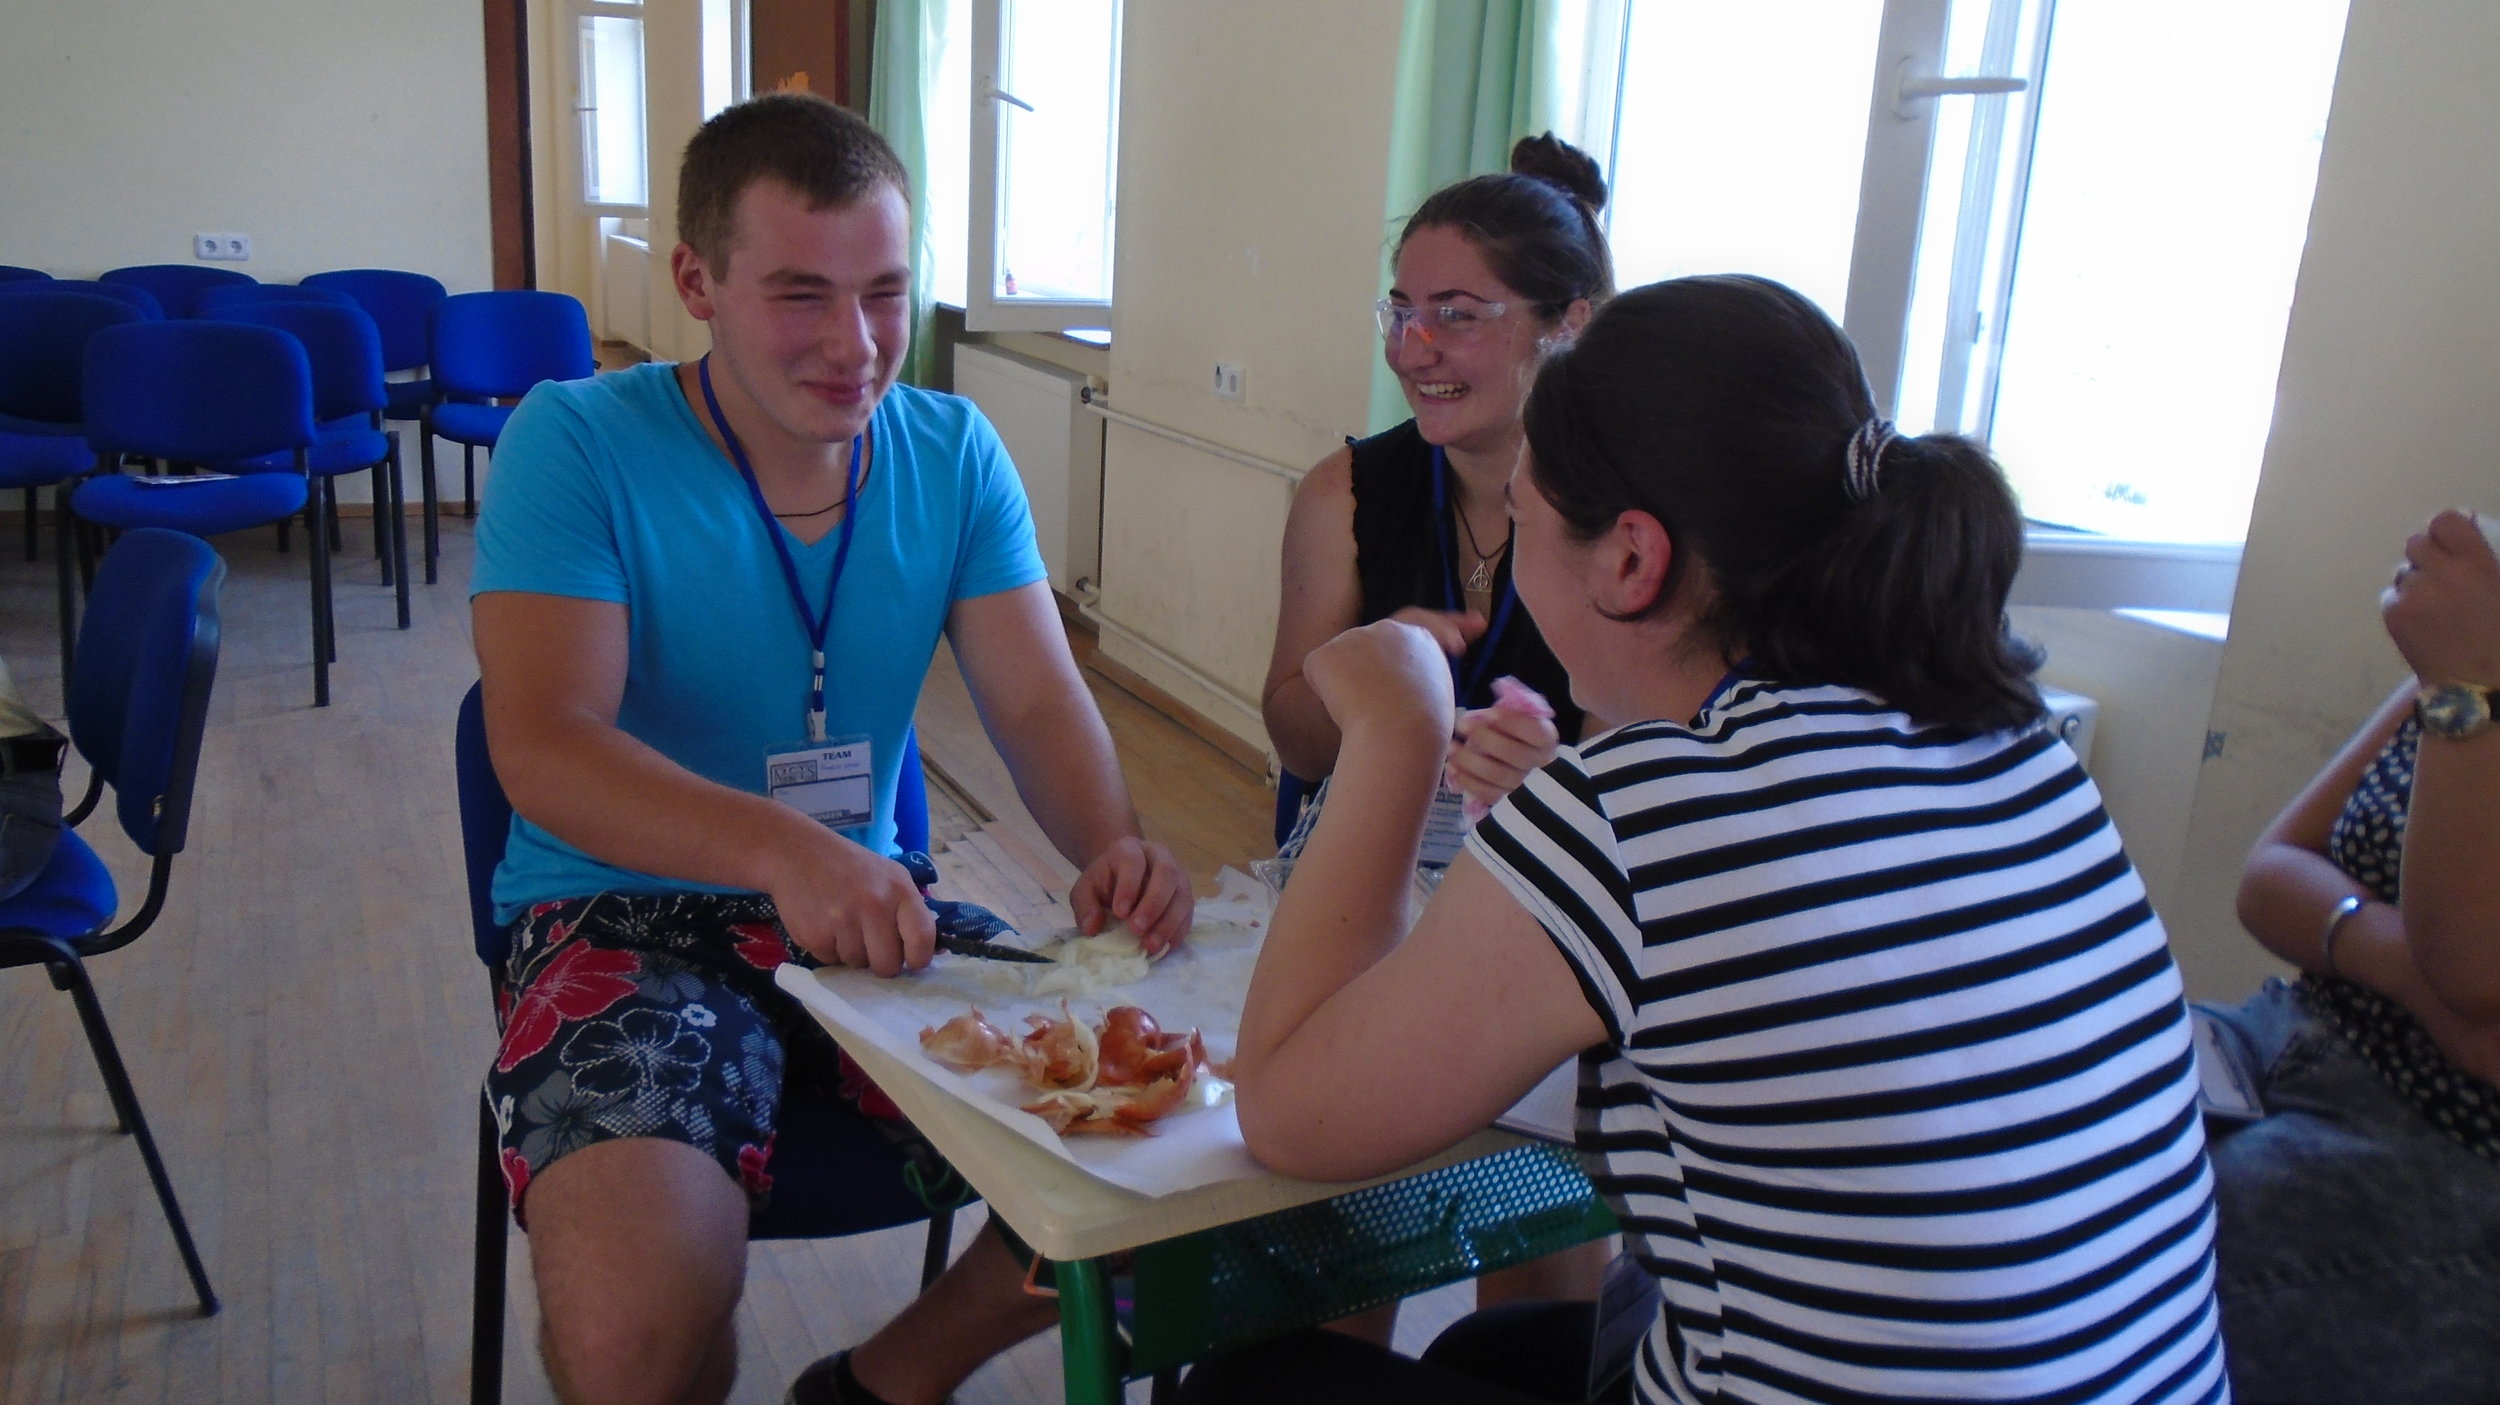
Onions: I told the students I’d make them cry, and I am a man of my word. This is a basic experiment, so easy that 1st graders can do it, but with older students we were able to delve into the science behind everything: chemical reactions and the effect of temperature on them.
I would advise refrigerating, not freezing onions. I would also suggest maybe doing this in a side room. Cutting that many onions put a lot of propanethiol S-oxide in the air and, even with all the windows open, it took a little while to make sure that no one was squinting any longer.
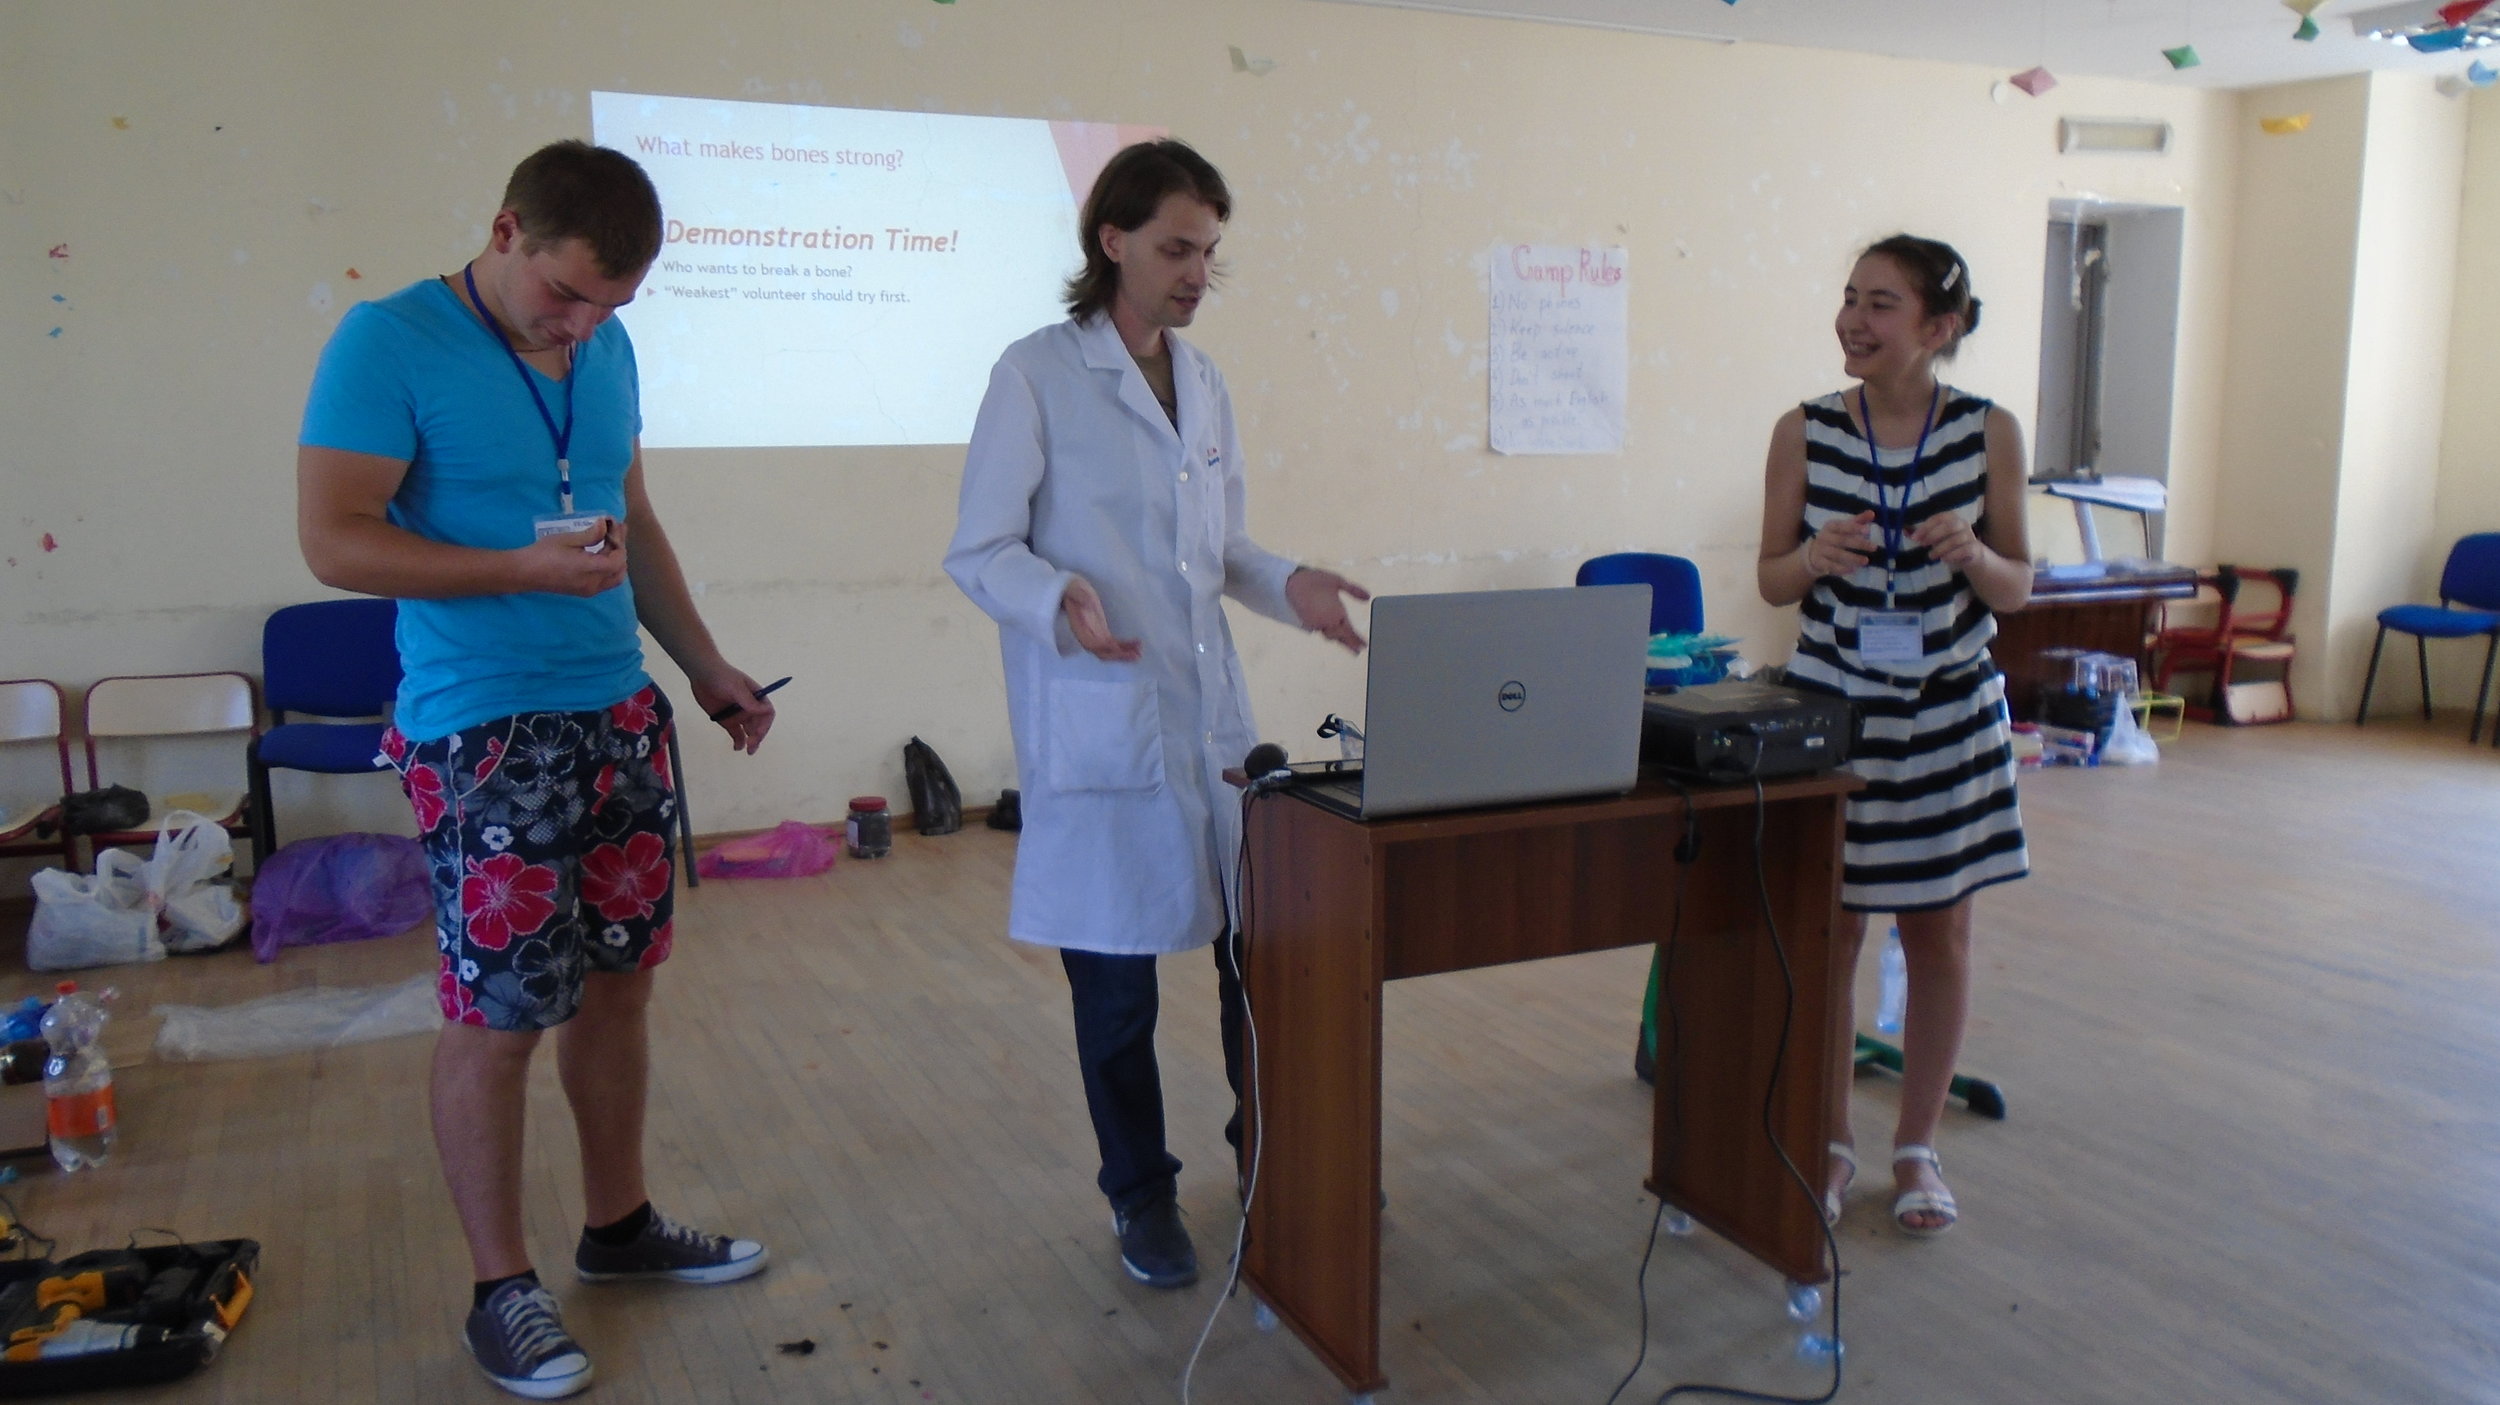
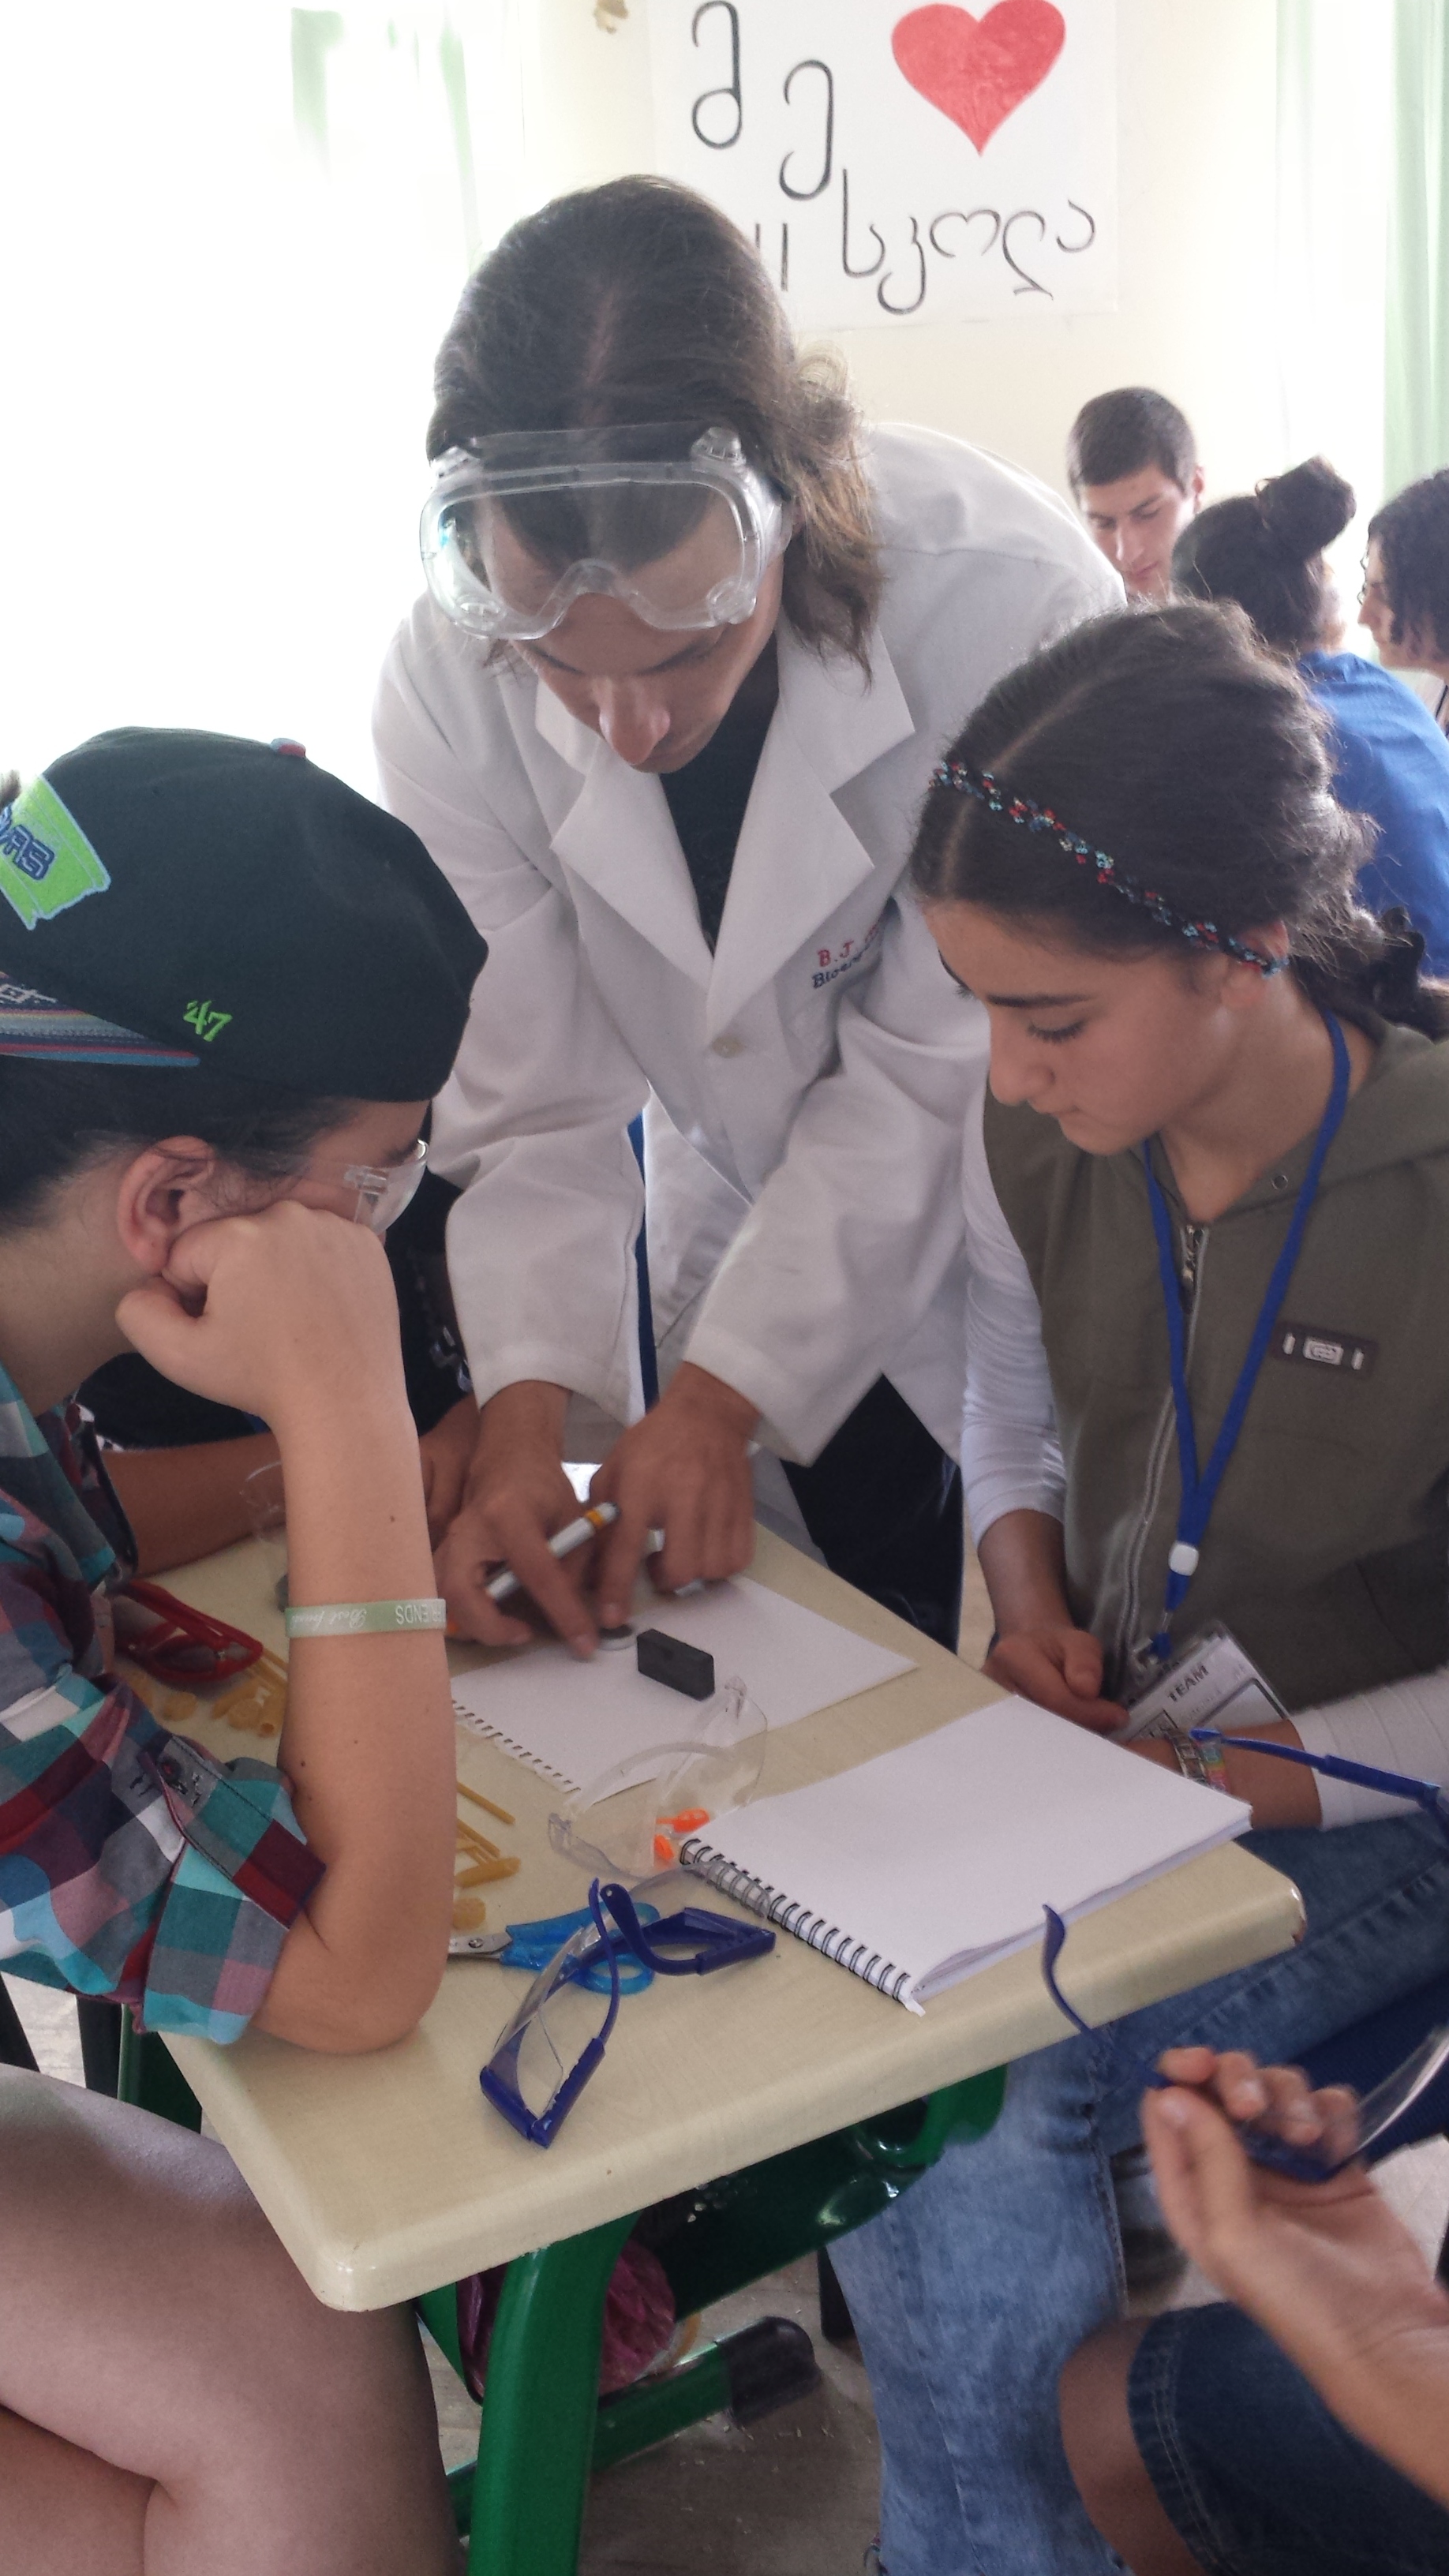
Bones: Inspired from my days in undergrad we talked about our bones, their structure and the chemicals that made them work, specifically calcium and collagen. The students already knew the basics, but were still amazed at what happened when the bones were treated to removed these two.
Ideally, we would have had at least 18 bones, so every group could experiment. Also ideally, we would have soaked a third of them in vinegar for 3+ days. We had 5 bones and 2 days. As a result this became a demonstration rather than an activity, but it still worked.
Lungs: This worked real well, like crazy well. We started by telling students how the lungs worked mechanically, diaphragm, air pressure, all that stuff. I took the basic model made in biology classes and simplified it so al we needed was a small balloon, a large balloon, and half liter plastic bottle.
We then talked about gas exchange and the alveoli in the lungs, and this is where the genius of the simplified model came in. By wrapping the small balloon around the mouth of the bottle, you can screw the cap back on. So I had pre-made smoking chambers out of two bottles and some cotton (the alveoli). These we screwed onto the model lungs. We then went outside to smoke cigarettes.
I remember doing something like this when I was in first or second grade. It was just a bottle that we squeezed, nothing as elaborate as this, but it had the same effect. As the model smokes the cigarettes, the cotton slowly turns yellow and then brown. Even Tournike from the Peace Corps office, who dropped by that afternoon, was astonished at the effect of just ten cigarettes. Admittedly, to speed the process, I reduced the filters of several cigarettes towards the end.

After just 10 cigarettes; though, the cotton on the far right never smoked. Seriously, why would you smoke?
Pulse Points: Our final activity was pretty quick. It was really just educating the students about our pulse points and then leveraging the heat discussions from day 1 to provide some tricks that can keep them cool in the summer. It worked well and was great for reinforcing prior lessons.
Day 4 - Structure and Propulsion
I had higher hopes for this day, but, as fate would have it, for various reasons, I was pretty much the only adult there for the last half of the day. This made it pretty darn hard to control everything. Something that was pretty much impossible once we got to the rockets.

Pasta Tower: We began the day with the pasta tower challenge. You can learn a bit about it here: http://www.ted.com/talks/tom_wujec_build_a_tower. It served not only as another team building exercise, but also as an excellent introduction to force and load. After discussing these concepts we tried the challenge again, and everyone did better.
In the future I would expand the discussion with pictures of structures and better demonstrate the uses of triangles and trusses, but even without that, this activity worked great as both a warm-up and for substantive discussion.
Pasta Cars: The idea for this came from the NASA website and an activity in building faux solar rovers out of pasta. I just changed it to be about cars that you can race and test for durability instead. Potential energy, kinetic energy, friction, and drag followed by building pasta cars and budget management. This worked very well. Everyone enjoyed it. Some folks got into it so much that they kept building new cars during lunch and even showed up early the next morning to build new cars and expand on previous designs. Beridze and Ani really got into it. Heck, as I type this, my host sister and cousins are building pretty extensive cars with trailers and flags just a couple of meters from me.
The finished cars were raced down a ramp. We had a smooth side for speed and a bumpy side for durability. If the driver (a marshmallow) fell out, then failure. Just about every car got wrecked on the bumping course.
What would I do different? I’d talk about aerodynamics more. I’d expand the budget to given students more room for creativity. I would build a few more examples; initially students largely just copied my “ცუდი მანქანა“ or one of the pictures I had on the screen, but later some of them started experimenting and made some really cool cars. Also, a second glue gun would be good.
Elephant Toothpaste: I won’t lie, this was an almost complete failure. I’m not sure what happened, the hydrogen peroxide may have broken down too much or the yeast just wasn’t refined enough to work as a good catalyst. The kids tried a lot of things to make it work, but nothing really panned out. I would like for this to work, but I may need to look into an alternative catalyst.

Alka-Seltzer Rockets: This is such a popular experiment that it is even featured on Alka-Seltzer’s website. Gas pressure, Newton’s third law, and film canisters imported from America. The kids loved it. They went crazy, and that was the problem. Once they saw the demonstration they stopped listening.
They were using full tablets instead of half. They were popping the caps instead of the canisters. They we remaking no attempts to experiment by changing variables or record data.
That said, the sisters from Argveti made a clever holster to fire off three are once and glued tablets to the inside of the caps. That was pretty cool to see.
I eventually regained some control by re-demonstrating the proper way to launch them and showing them that the canister flies further than the cap because of its “nozzle” shape. Since I still had some tablets I made them an offer, design some canisters as rockets with fins and/or cones and they get a half tablet to test with. I meanwhile designed launch rails to shoot it at an angle.
Where this activity was also hampered by a lack of translators and crowd control help, I think the big change I would do in the future is give each group one table to start and break it in half for them. Then slowly distribute the tablets as the kids use up the one they have and transition to a new variable. Or just some other greater control over the fuel/tablets. This activity can be a lot of fun, arguably too much since it’s real easy for kids and adults to get lost in just popping the rockets off.
Day 5 - Magnets and Electricity. Also, Wrap-Up.
The day began with some special guests. Tamuna from the Peace Corps office dropped by and Leigh (G16 PCV) also came to help out. On this day the groups also got to choose the roles each member took on within the groups.
What I Did: Each group came up with something named after themselves and the reason for it. Did they cure cancer, discover a new animal, or found the first space colony? Did they get a school named after them or maybe a star? This was all about visualizing success and their futures. It was short but great.
Mapping Magnets: After a brief introduction to magnets, groups used compasses and then iron dust to map magnetic fields. The language barrier created some confusion. It would have benefited from be demonstrating more, but at the same time that almost defeats the purpose. In the end I wound up demonstrating to each group individually how to use the compass. We were also hampered by the weird way our magnets worked.
I ordered bar magnets, and anyone who knows these understands that the ends of the magnets are supposed to be the poles. With these it was their broad sides that were the poles. This made them really inconvenient to work with. At least they were the right size for the final project.
Mapping Electromagnets: After a brief introduction to electric charge and electromagnets we hooked up coils of magnet wire to 9V batteries and explored their magnetic fields with compasses. I thank my host sister and cousin for their help in preparing the coils. This was a simple exercise, but an important one for what came next.
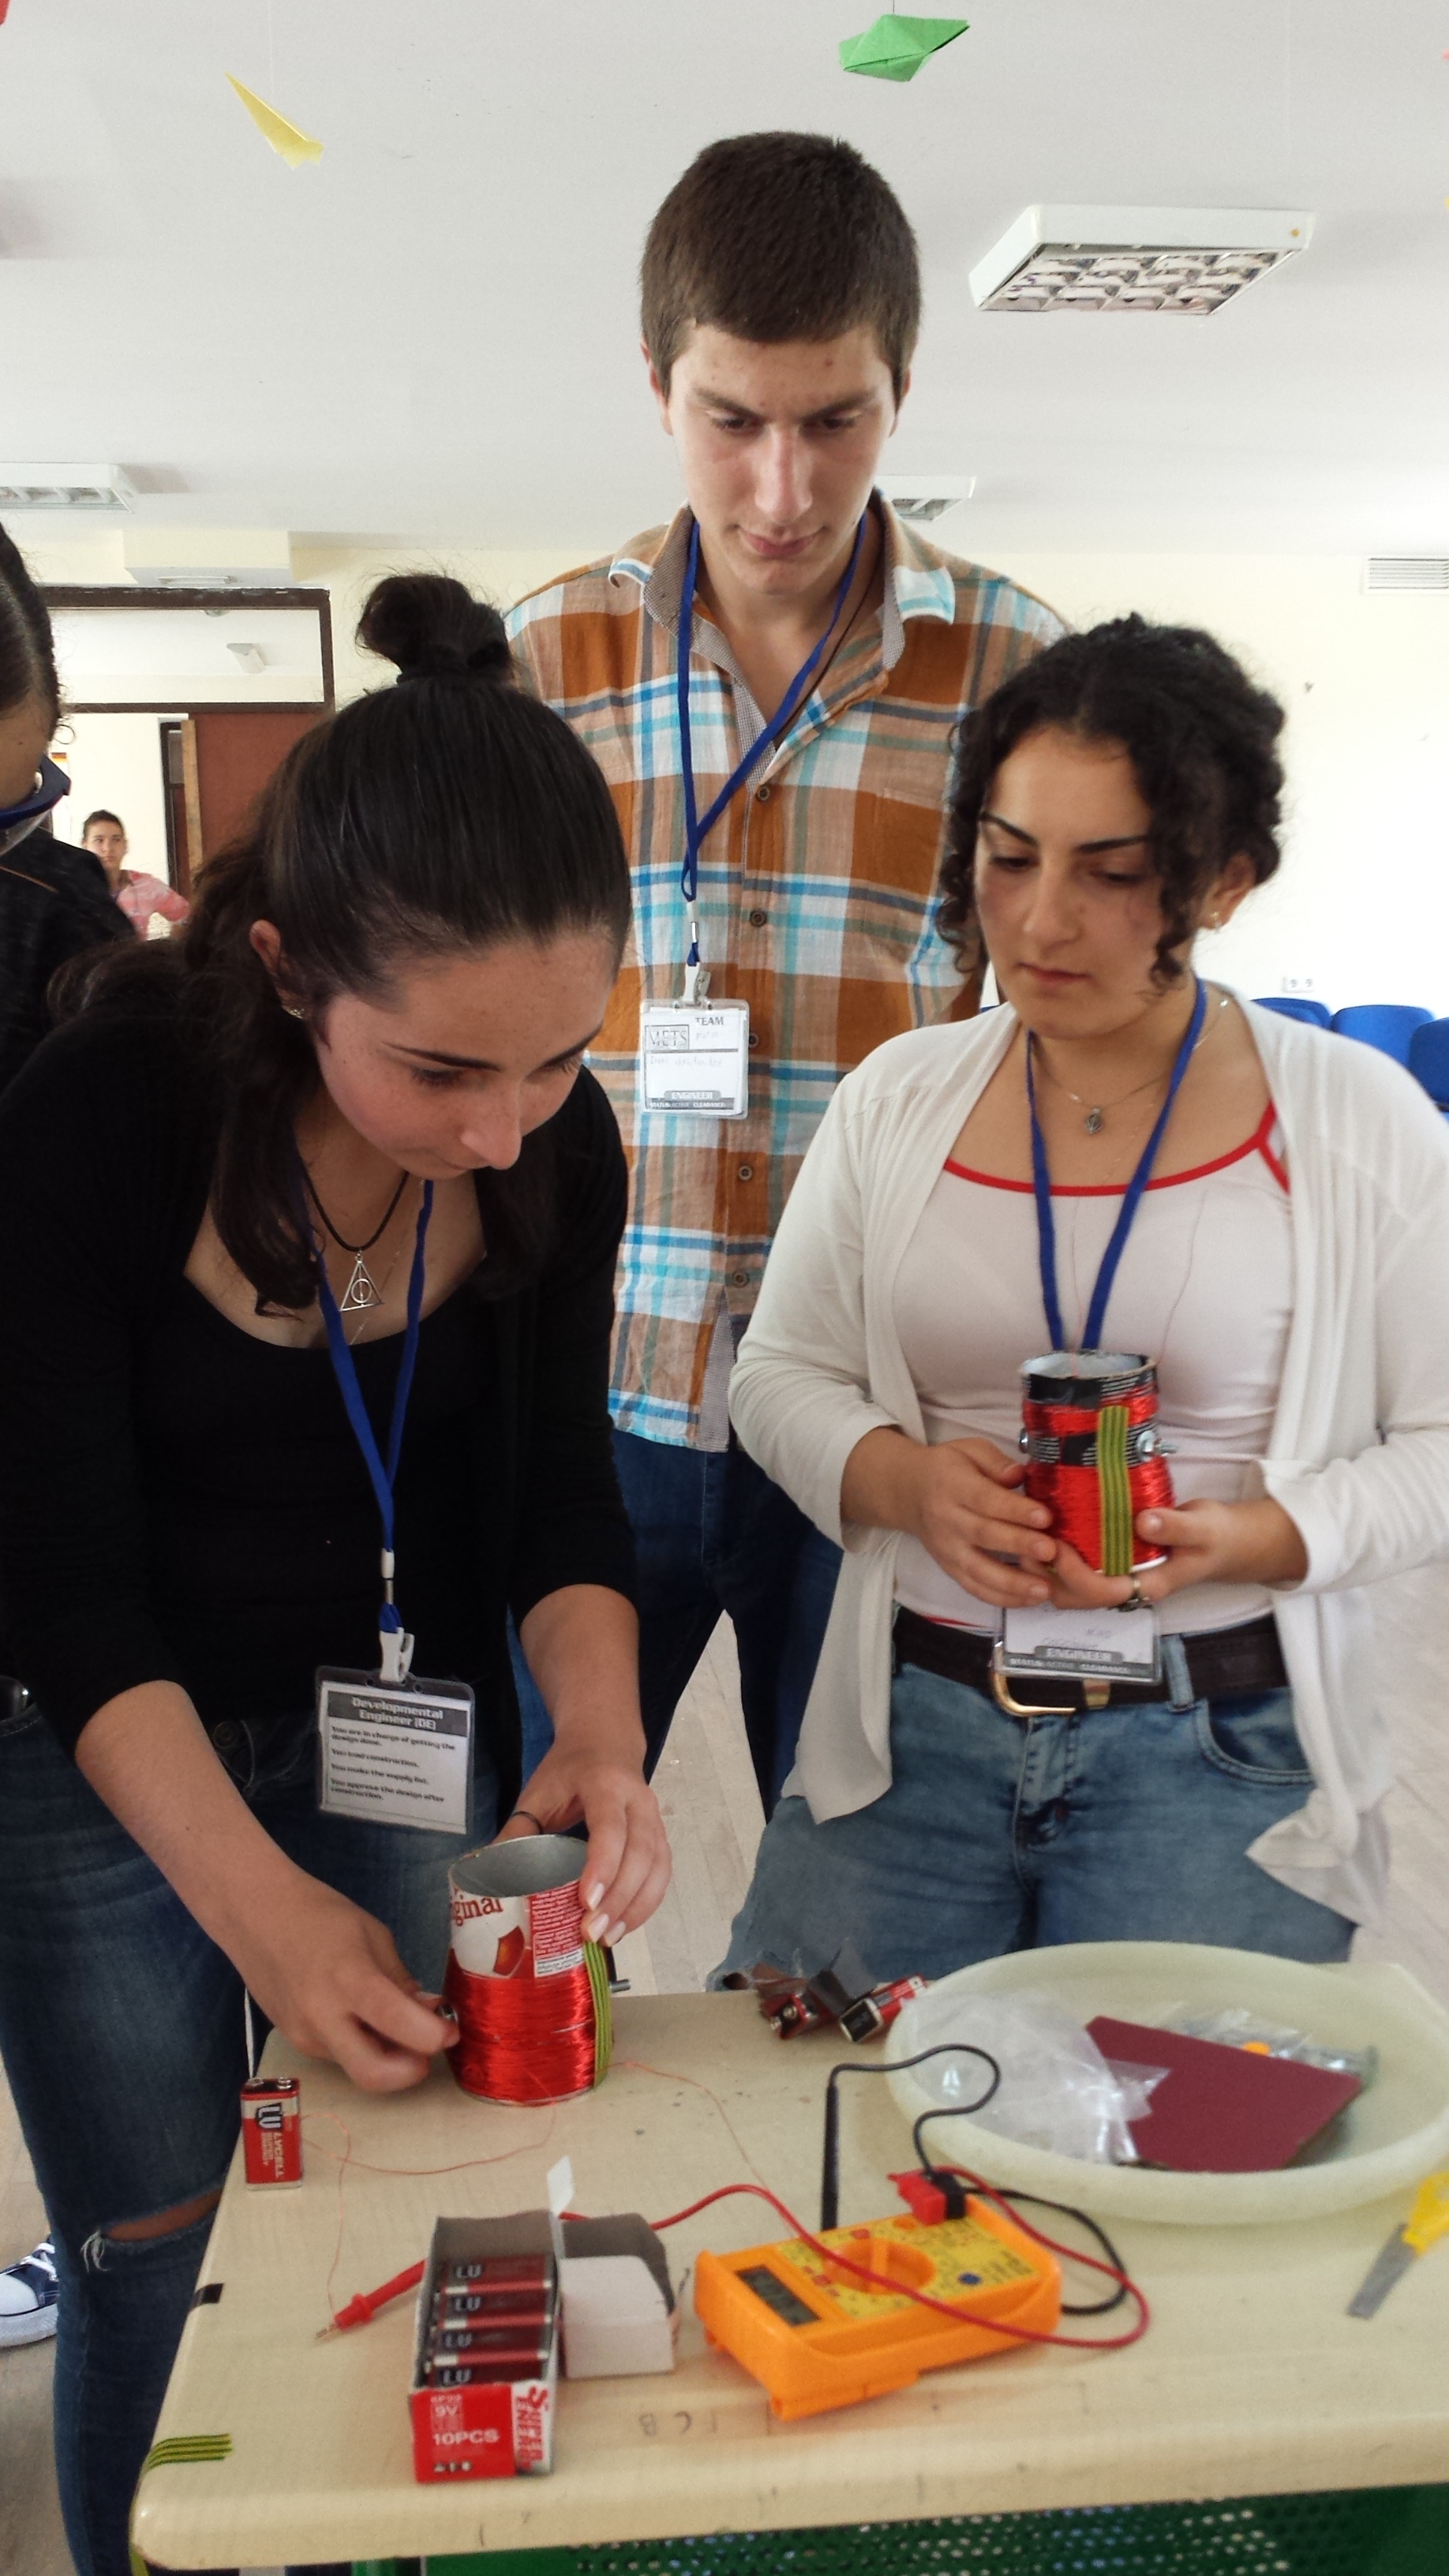
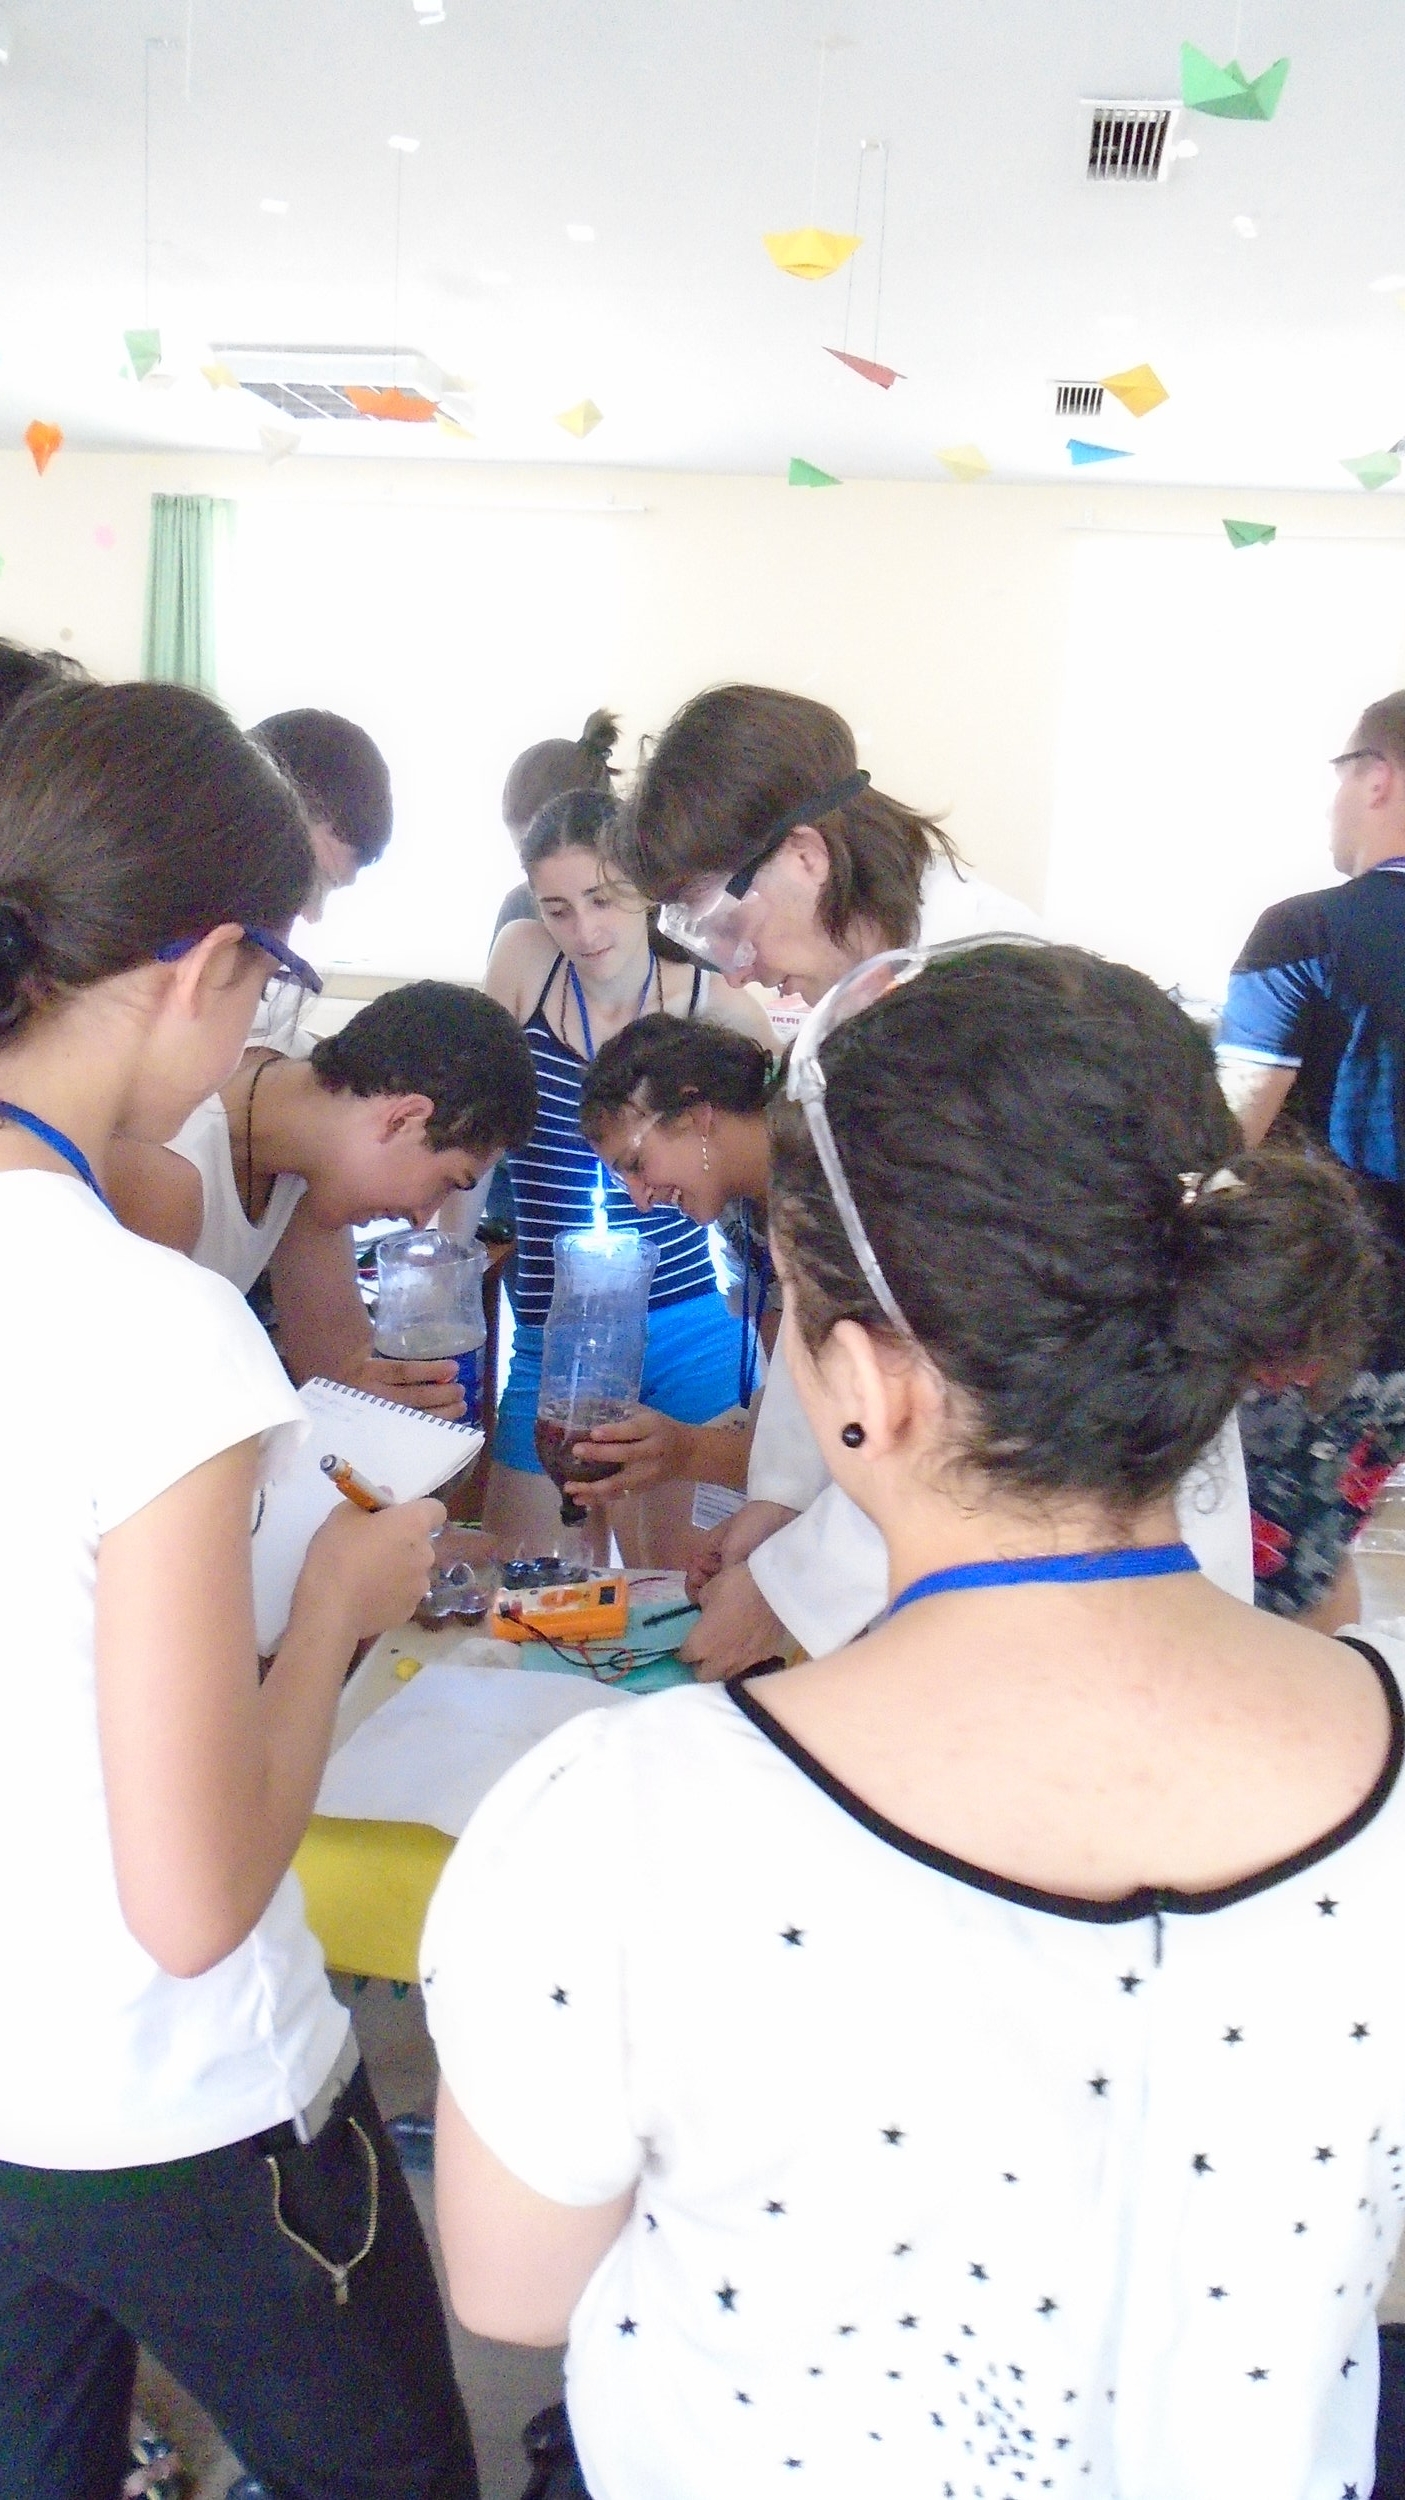
Electric Generators: I got the idea of this one from a comic book. We started with discussion of just what magnetism and electricity are and what is electromagnetism as a fundamental force. Then a demonstration of just simply spinning a magnet inside the coil of wire. With that we were off.
The voltage wasn’t strong enough to light one of our LEDS, but the multimeter could certainly take readings. The looks on everyone’s faces as they spun their magnets and generated current was priceless. Ideally in the future, we can ensure that these generators will produce enough voltage to light up an LED.
Of course we followed this up with a discussion on how to enhance these generators, how to power them with water or wind, and Georgia’s future. It ended with a demonstration of how to apply the principles behind the generator in reverse to make a motor.
Wrap-Up: Graduation day came and all the students got certificates. There were plenty of photos to be had, and students were allowed to take home things they had made on the condition they take them to their schools and tell their teachers how they worked.

Post Camp Thoughts
I still haven’t recovered in terms of sleep, but I can say I want to do it again and I owe that to the overwhelmingly positive reaction by the students. There’s definitely things I would change. More examples, more pictures, more walking the students through some of the steps, and definitely more help. I would allow for free hours where students could just come and experiment with stuff, be it building pasta cars or circuits on breadboards. I would also like to include more activities like those we used for warmup each day. They would break up the seriousness of each day and, ideally, spark creativity, which is so important for STEM. I would also open the camp to students from across Georgia.
Now, after two days of sorting pictures and typing these 9+ pages, I don’t quite have it in me to do a thorough review and revision. So I apologize for the stream of consciousness that this must read as, but I also hope it gives people ideas for activities they can use. STEM has a lot to offer and Georgia needs more STEM.
To finish off this posts, here's a couple of students talking about their experience behind my back